A long time ago in a galaxy actually not so far away, Colin Eberhardt wrote a Radial Gauge custom control for Silverlight in less than six hours. It had everything a gauge should have: a needle, and a scale with tick markers and labels. Hell, it even had colored quality range indicators. A couple of months ago, I thought "Hey, I can do that too." So I started a new Metro project in my Developer Preview of Windows 8. I tried to create a Metro version of that same radial gauge in less than six hours. Six lonely nights later, I still had absolutely nothing, and I started to consider anger management training. I gave up and started from scratch, this time on a much simpler control: a minimalistic slider. That involved a lot of work with -let's be honest- a rather lame result. The Developer Preview was clearly not an ideal environment for building custom controls.
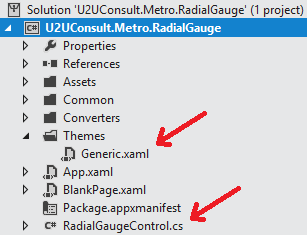
But that was then and this is now. Yesterday, Tim Heuer revealed how to build a deployable custom control for XAML Metro style apps with the Consumer Preview of Windows 8. I discovered that the current beta of Visual Studio 11 comes with a template for a Templated Control. I happily noticed the return of the themes/generic.xaml file that we know from all the other XAML platforms. So I decided to have another go on the radial gauge custom control. Here's the result:
 |
 |
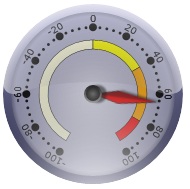
| Colin's Silverlight Gauge |
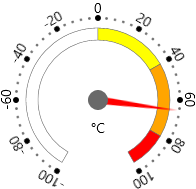
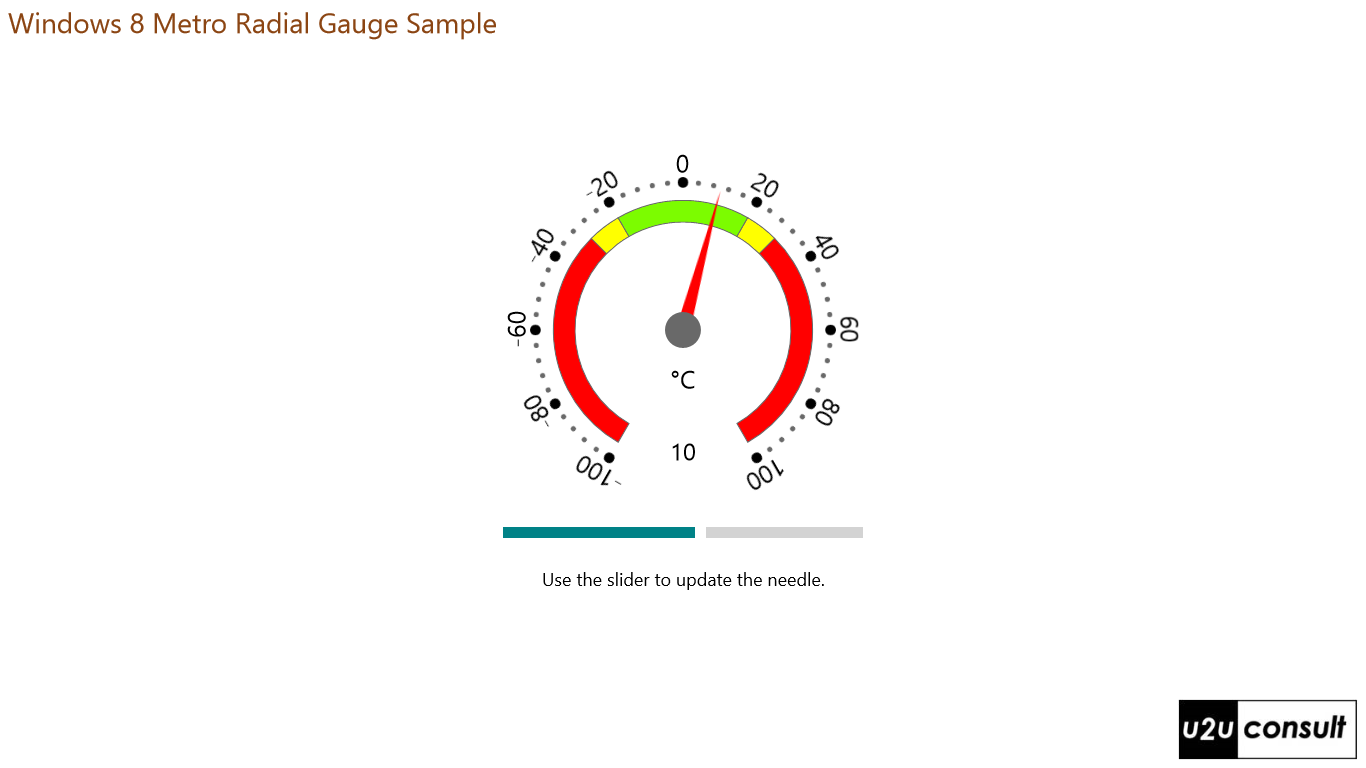
Diederik's Metro Gauge |
Here's how the gauge is defined in XAML:
<local:RadialGaugeControl Maximum="100"
                            Minimum="-100"
                            Value="65"
                            Unit="°C"
                            Height="200">
    <local:RadialGaugeControl.QualitativeRanges>
        <local:QualitativeRange Color="#FFFFFFFF"
                                Maximum="0" />
        <local:QualitativeRange Color="#FFFFFF00"
                                Maximum="40" />
        <local:QualitativeRange Color="#FFFFA500"
                                Maximum="80" />
        <local:QualitativeRange Color="#FFFF0000"
                                Maximum="100" />
    </local:RadialGaugeControl.QualitativeRanges>
</local:RadialGaugeControl>
The Metro version of the radial gauge is simplified in many ways:
• It has the Metro look-and-feel: it's sharp, without gradients or shadows. No chrome, but content!
• It does not delegate its look-and-feel to a separate viewmodel. All code is hosted by the control class itself.
• I simplified most of the calculations by creating a fixed size control and wrapping it in a Viewbox. After all, the control only contains vector graphics: Ellipse, Path, and Text.
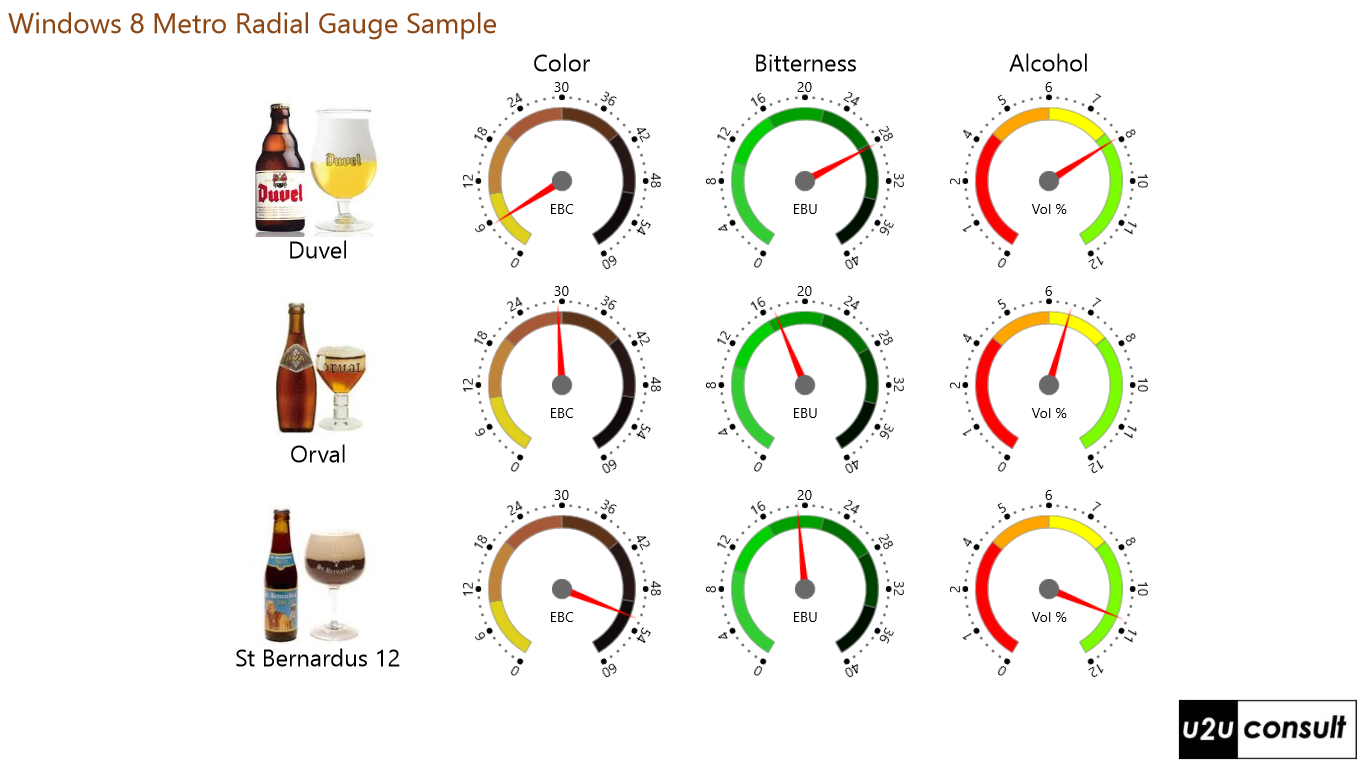
There's probably more room for simplification and improvement, but this was a race against time, remember. At the end or the day, I'm happy with the result. Here's how the attached sample solution looks like. By the way, EBC -the unit of color- stands for European Brewing Convention (the European alternative for Lovibond) and EBU -the unit of bitterness- stands for European Bitterness Unit (the European version of IBU):
The conversion from Silverlight to Metro went very fast. The Consumer Preview version of Metro uses the same paradigms (and name spaces!) as the existing XAML platforms, so I'm going to spare you the details. A custom control is defined by a control class with dependency properties, and a generic.xaml file with the default style definition:
So if you can write a custom control in Silverlight, you can write a custom control in Metro! Sometimes you may have to work your way around some glitches. I noticed that the rotation transformation on the needle path isn't fired if it's defined in XAML. The values are correctly assigned by the TemplateBinding, but the transformation does not happen:
<Path.RenderTransform>
    <RotateTransform Angle="{TemplateBinding ValueAngle}" />
</Path.RenderTransform>
So I moved it to the code behind:
Path needle = this.GetTemplateChild(NeedlePartName) as Path;
needle.RenderTransform = new RotateTransform() { Angle = this.ValueAngle };
I still had a lot of time left in my six hour frame, when I started the implementation of the qualitative ranges - the nicely colored arc segments. I discovered rapidly that there are no TypeConverters for WinRT structs such as Color. There is also no support for custom TypeConverters. Bummer. I had no choice but to redefine the Color property as a String - instead of a 'real' Color type:
public class QualitativeRange
{
    public double Maximum { get; set; }
    public String Color { get; set; }
}
That type change comes with a huge price: say "bye-bye Visual Studio Designer support" when assigning a Color in XAML. I then had to figure out how to translate the color string into a Brush, because there is no ColorConverter.ConvertFromString in Metro. So back to anger management training...
... or not. I decided to drop support for named colors and restrict the color values to hexadecimal codes only. I then upgraded an old HexToColor converter that I found in one of my legacy Silverlight (2.0?) frameworks. That definitely does the trick - at least if the input falls in the expected range:
namespace U2UConsult.Metro.RadialGauge
{
    using System;
    using Windows.UI;
    using Windows.UI.Xaml.Data;
    using Windows.UI.Xaml.Media;

    public class HexToColorConverter : IValueConverter
    {
        /// <summary>
        /// Converts a hexadecimal string value into a Brush.
        /// </summary>
        public object Convert(object value, Type targetType, object parameter, string language)
        {
            byte alpha;
            byte pos = 0;

            string hex = value.ToString().Replace("#", "");

            if (hex.Length == 8)
            {
                alpha = System.Convert.ToByte(hex.Substring(pos, 2), 16);
                pos = 2;
            }
            else
            {
                alpha = System.Convert.ToByte("ff", 16);
            }

            byte red = System.Convert.ToByte(hex.Substring(pos, 2), 16);

            pos += 2;
            byte green = System.Convert.ToByte(hex.Substring(pos, 2), 16);

            pos += 2;
            byte blue = System.Convert.ToByte(hex.Substring(pos, 2), 16);

            return new SolidColorBrush(Color.FromArgb(alpha, red, green, blue));
        }

        /// <summary>
        /// And back again.
        /// </summary>
        public object ConvertBack(object value, Type targetType, object parameter, string language)
        {
            SolidColorBrush val = value as SolidColorBrush;
            return "#" + val.Color.A.ToString() + val.Color.R.ToString() + val.Color.G.ToString() + val.Color.B.ToString();
        }
    }
}
To make the gauge interactive, I hooked a change event handler to the dependency property:
public static readonly DependencyProperty ValueProperty =
    DependencyProperty.Register("Value", typeof(double), typeof(RadialGaugeControl), new PropertyMetadata(0.0, OnValueChanged));

private static void OnValueChanged(DependencyObject d, DependencyPropertyChangedEventArgs e)
{
    RadialGaugeControl c = (RadialGaugeControl)d;
    // ...
    }
}
Unfortunately neither a GetTemplateChild nor a FindName method call were able to find the Needle element: both retrieved a null value. So I created a private field for the Needle, populated the field in the OnApplyTemplate call:
this.Needle = this.GetTemplateChild(NeedlePartName) as Path;
Then it became accessible in the change event handler:
if (c.Needle != null)
{
    c.Needle.RenderTransform = new RotateTransform() { Angle = c.ValueAngle };
}
And the radial gauge became truly bindable:
Here's the code for the gauge control and the client app. It was written with Visual Studio 11 Express Beta for the Windows 8 Consumer Preview: U2UConsult.Metro.RadialGauge.zip (399,29 kb)
Enjoy !