This article describes how to create modal dialogs in a Windows 8 MVVM Metro-style app. Here's the use case: a main page opens a dialog and provides it with some information. The dialog is displayed in the center of the screen, and collects some information. As long as the dialog is open, the main page is inaccessible by the user interface. When the dialog is closed, the main page reads the result from the dialog, and continues processing.
The Sample
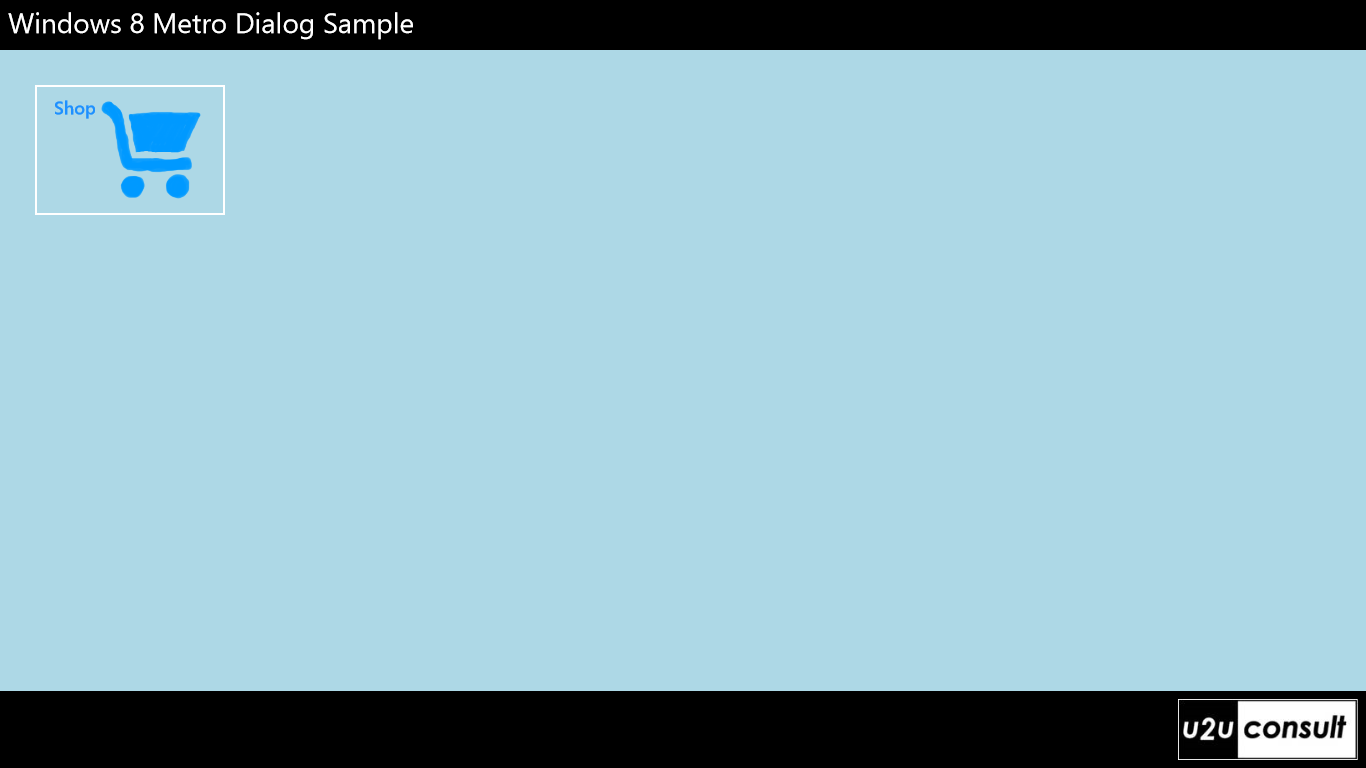
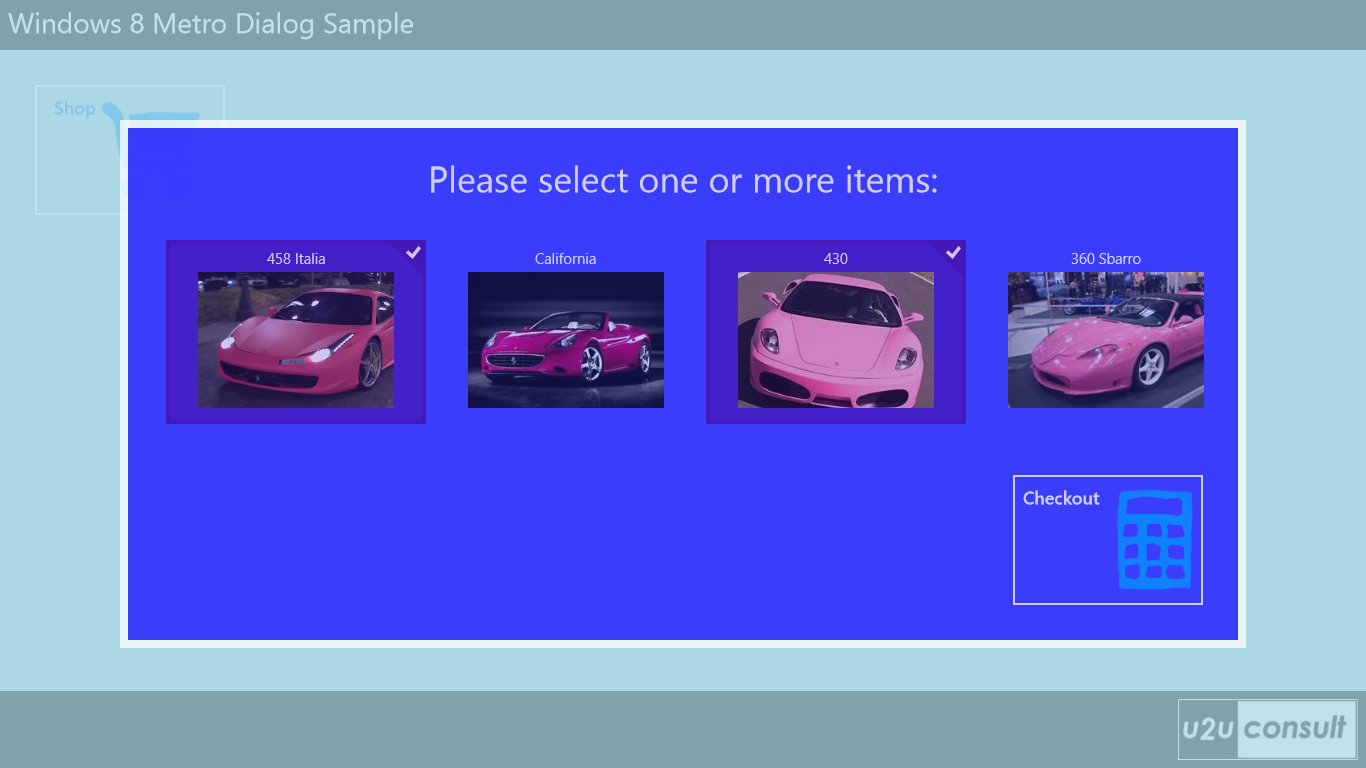
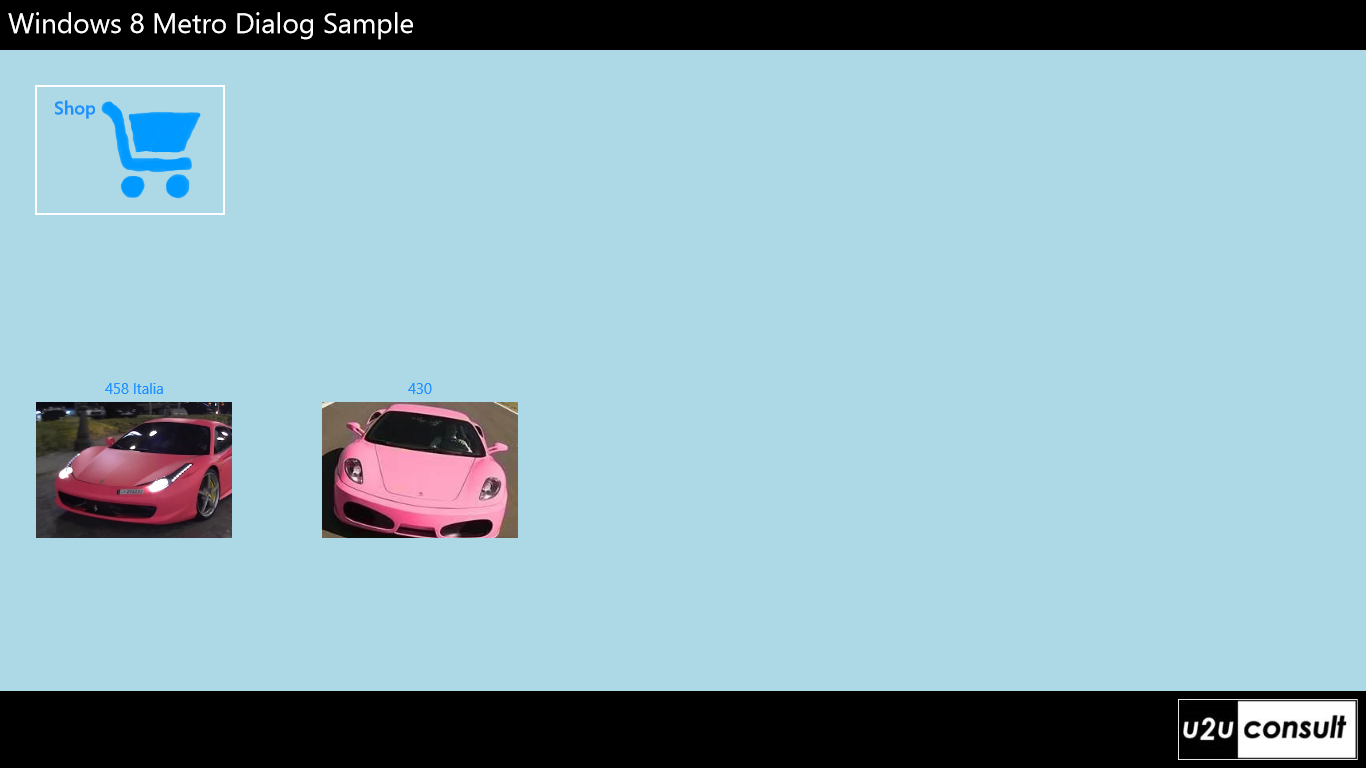
Here are some screenshots of the attached solution. You see the main page with a shop button to open the dialog, the dialog that allows you to select multiple items from a catalog and then checkout, and finally the main page displaying the purchased items after the dialog was closed:
The Dialog
The dialog is implemented as a regular Page. When it's displayed, it will occupy the whole screen to prevent access to the underlying main page:
public CatalogDialog()
{
    this.InitializeComponent();

    var bounds = Window.Current.Bounds;
    this.RootPanel.Width = bounds.Width;
    this.RootPanel.Height = bounds.Height;
}
The dialog look-and-feel is created by using a semi-transparent background under a white border with a wide margin around the core content:
<Page>
    <Grid
        x:Name="RootPanel"
        Opacity=".75"
        HorizontalAlignment="Stretch"
        VerticalAlignment="Stretch">
        <Border
            Background="White"
            Margin="120">
            <Grid Background="Blue" Margin="8">
                <GridView
                    x:Name="CatalogGridView"
                    ItemsSource="{Binding Cars}"
                    SelectionMode="Multiple"
                    SelectionChanged="CatalogGridView_SelectionChanged">
                </GridView>
                <Button
                    Content="Checkout"
                    Click="CloseButton_Click">
                </Button>
            </Grid>
        </Border>
    </Grid>
</Page>
The dialog notifies its end-of-life by raising a CloseRequested event, in the click event handler of the checkout-button. This is the kind of code that you would factor out into a Dialog base class:
public event EventHandler CloseRequested;

private void CloseButton_Click(object sender, RoutedEventArgs e)
{
    if (this.CloseRequested != null)
    {
        this.CloseRequested(this, EventArgs.Empty);
    }
}
The viewmodel always reflects the dialog's state. Binding to the SelectedItems property is not possible, so we have to refrain from hard-core MVVM. We update the viewmodel each time the selection in the catalog gridview is changed:
private void CatalogGridView_SelectionChanged(object sender, SelectionChangedEventArgs e)
{
    foreach (var item in e.AddedItems)
    {
        PinkFerrari pf = item as PinkFerrari;
        pf.IsSelected = true;
    }

    foreach (var item in e.RemovedItems)
    {
        PinkFerrari pf = item as PinkFerrari;
        pf.IsSelected = false;
    }
}
The Main Page
The main page has a button that opens the dialog, and a listview to display the result:
<Page>

    <Page.DataContext>
        <local:MainPageViewModel />
    </Page.DataContext>

    <Grid>
        <Button
            Content="Shop"
            Command="{Binding OpenDialogCommand}">
        </Button>
        <ListView
            ItemsSource="{Binding ShoppingList}">
        </ListView>
    </Grid>

</Page>
When the shop-button is clicked, a command is fired in the main page's viewmodel. That viewmodel creates a new instance of the dialog view. MVVM tifosi would prefer to use some kind of ViewLocator here, instead of a hard reference to the view's class. The dialog view is associated with a viewmodel - that's how the two viewmodels can exchange information. An event handler is hooked onto the CloseRequested event. Then the dialog view is wrapped in a Popup element, which is then opened:
private void OpenDialog_Executed()
{
    this.catalog = new CatalogViewModel();
    CatalogDialog dialog = new CatalogDialog();
    dialog.DataContext = this.catalog;
    dialog.CloseRequested += Dialog_CloseRequested;
    this.catalogPopup = new Popup();
    this.catalogPopup.Child = dialog;

    this.catalogPopup.IsOpen = true;
}
When the dialog closes, the main page's viewmodel is updated:
private void Dialog_CloseRequested(object sender, EventArgs e)
{
    this.catalogPopup.IsOpen = false;
    this.shoppingList.Clear();
    var query = from f in this.catalog.Cars
                where f.IsSelected
                select f;

    foreach (var item in query)
    {
        this.shoppingList.Add(item);
    }
}
That's all there is...
The Result
Last week our CEO used this app to order the new company cars. Here's a picture of our parking area this morning: 

The Code
Here's the full source code of the sample solution. Is was build with Visual Studio 2012 Ultimate RC for the Windows 8 Release Preview: U2UConsult.Metro.DialogSample.zip (409,68 kb)
Enjoy !