This is the third part of the “Remote debugging a Windows Azure Worker Role using Azure Connect, Remote desktop and the remote debugger”. In this part I will show you how to attach the remote debugger on your worker role and start debugging…
Step 3: Connect to the remove debugger
In the previous blog post we ended up copying the remote debugger to the worker role instance machine.
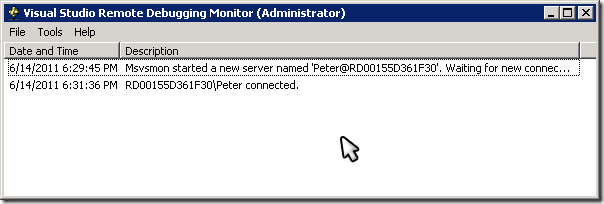
Open the remote debugger folder (the one you just copied) and start the remote debugger by double-clicking the msvsmon.exe application. The remote debugger should start:

Take note of the server name. Minimize the remote desktop session.
Open Visual Studio ( the one you used to publish the worker role project).
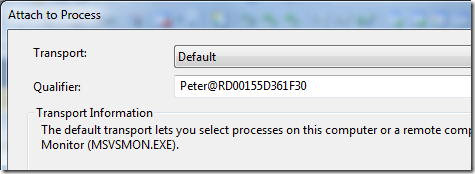
Select Debug->Attach to process… The Attach to Process windows should open. Type in the server name you got when you started the remote debugger.

Be patient while Visual Studio downloads the list of processes from the remote server…
WARNING: if you get authentication errors this means you are not using the same username and password from your local machine.
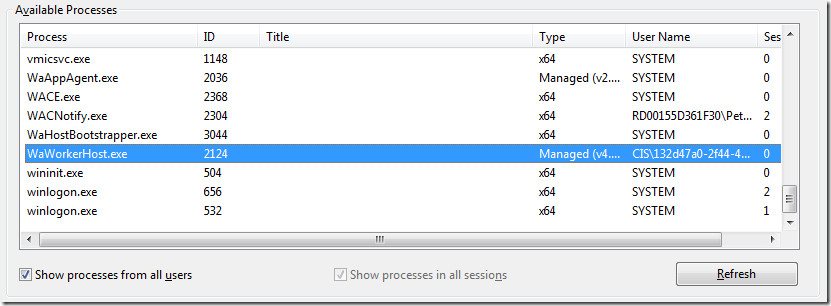
After a while you should get a list of all processes:

Select the WaWorkerHost.exe process and click the Attach button.
Step 4: debug!
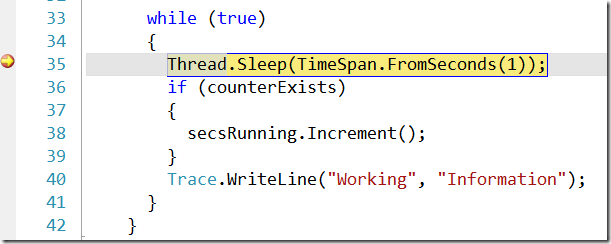
Now you can add a breakpoint in your code and wait for the worker role to hit it. Again you will have to be patient…

Happy debugging!