Windows Azure deploys your azure web or worker role in the cloud, on a machine with Windows Server 2008 and .NET 4 pre-installed. But what if you need an additional requirement? What if you need to install some performance counter, or if you need some other piece of software like the media encoder? Then you can use a startup task to get the job done. In this blog post you will create a simple web role using ASP.NET MVC 3, then add a startup task to ensure MVC 3 is also installed on the Azure instance. For this walkthrough you’ll need Visual Studio 2010 and ASP.NET MVC 3. You’ll also need the standalone MVC 3 installer, which you can find here.
Step 1: Create the Azure solution.
Start by creating a new Cloud project, call it UsingStartupTasks.
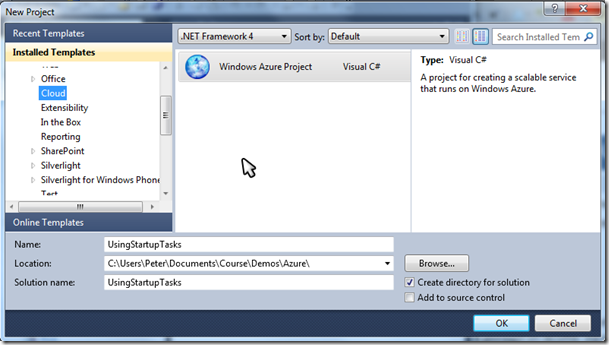
Click Ok. Don’t add any role just yet, so click Ok in the next screen. MVC 3 is not available from the “New Windows Azure project” dialog, so we’ll need to use another way to get an ASP.NET project in Azure…
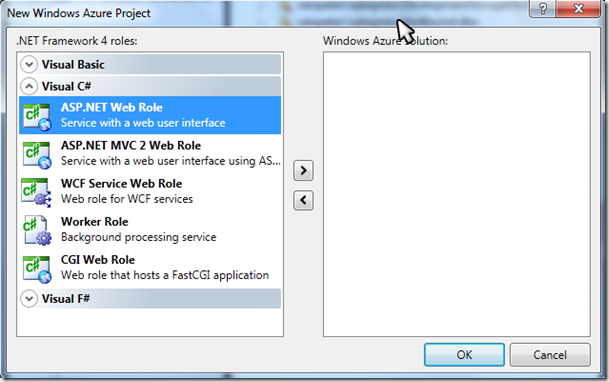
Now add a new ASP.NET MVC 3 project, calling it HelloMVC3.
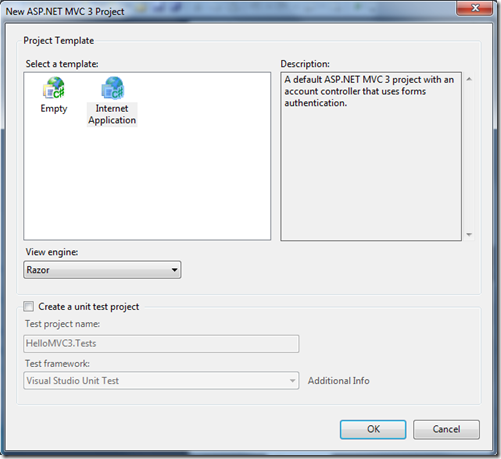
Select the Internet Application template, leave the rest to its defaults, then press Ok.
Right-click the Roles folder beneath your cloud project and select Add->Web Role Project in Solution…

Select the HelloMVC3 project in the next screen and hit Ok.
Adding the Startup task
Add a new folder StartupTasks to your MVC project and add the MVC installer AspNetMVC3Setup.exe to it. Open notepad.exe (don’t add the following file using Visual Studio because it will add a Byte Order Mark and the Azure runtime doesn’t like that) and create a new batch file called installmvc.cmd in the StartupTasks folder. To add it to the Visual Studio project first click on the Show All Files button in the solution explorer, and then right-click the installmvc.cmd file and select Include In Project. Do the same for the AspNetMVC3Setup.exe installer.
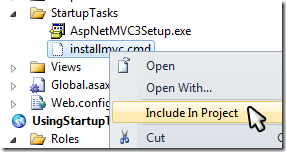
We’ll use this batch file to execute the installer as follows: enter following in installmvc.cmd:
%~dp0AspNetMVC3Setup.exe /q /log %~dp0mvc3_install.htm
exit /b 0
The %~dp0 actually returns the install folder for your azure project, so the first line will run the standalone MVC3 installer, this will write any install problems to a log file called mvc3_install.htm.
The %~dp0 is used to get the directory containing the startup tasks (an azure server local copy of the StartupTasks folder). The first statement will do a silent (quiet) install of MVC3, and the next line will return a success error code.
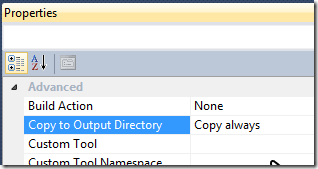
Make sure both files have a build action of “none” and Copy to Output Directory set to “Copy Always”.
Editing the Service definition file
Finally you need to open the ServiceDefinition.csdef file and add the task to it:
<?xml version="1.0" encoding="utf-8"?>
<ServiceDefinition name="UsingStartupTasks" xmlns="http://schemas.microsoft.com/ServiceHosting/2008/10/ServiceDefinition">
  <WebRole name="HelloMVC3">
    <Sites>
      <Site name="Web">
        <Bindings>
          <Binding name="Endpoint1" endpointName="Endpoint1" />
        </Bindings>
      </Site>
    </Sites>
    <Endpoints>
      <InputEndpoint name="Endpoint1" protocol="http" port="80" />
    </Endpoints>
    <Imports>
      …
    </Imports>
    <Startup>
      <Task commandLine="StartupTasks\installmvc.cmd"
            executionContext="elevated"
            taskType="simple"
      />
    </Startup>
  </WebRole>
</ServiceDefinition>
In this <Startup> element you can add any number of Task elements. Each represents a commandLine that will be executed on the installing instance prior to installing your azure project. You also get a couple of options, first you can specify the executionContext: this can be elevated or limited. Elevated gives you administrator-like privileges and is ideal for installers (which normally only work with admin privileges). Limited gives you “normal user” privileges. You can also choose the taskType. This is how the task will be executed. You get three options: simple, background or foreground. Simple means that the installer will wait for this task to complete before continuing with the next task (or the actual installation of your azure role). Background and foreground means the same thing like in threading. Background will not block the installer from continuing with the next task, and these will run in parallel. So to get MVC3 installed we need to run elevated, and we don’t want installation to continue before MVC3 has been installed, so we choose simple as the task type…
Deploying to Azure
Right-click on the Cloud project and select Publish… The Deploy Windows Azure project dialog opens:
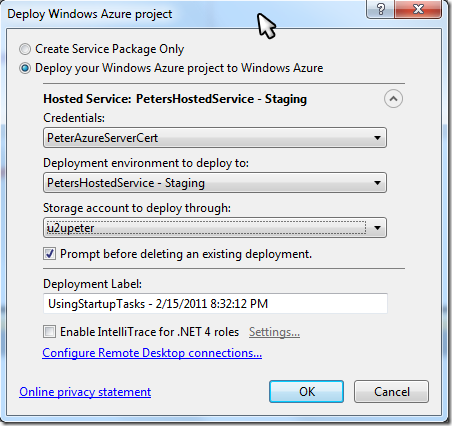
Select your credentials, environment and storage account. You may need to do some setup for this to work…
Optionally you can configure remote desktop connections in case something went wrong, this will make it easier to see if MVC 3 was indeed installed.
Click on Ok and wait…
Deployment in Visual Studio should start:
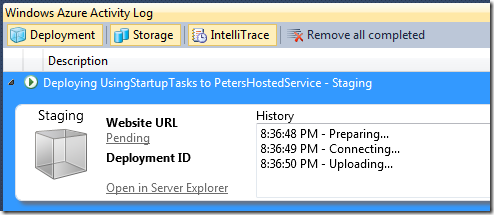
Wait some more till complete (because the startup tasks are executing this will take a long time):

Click on the Url. You should now see the MVC 3 screen!
In my next blog post I will show you how to turn this startup task into an azure startup plugin, which will make it easier to re-use this startup task.