This article explains how to get started with SQLite in an UWP XAML app. SQLite is a cross-platform single-user public-domain (read: ‘free’) embedded relational database engine. It doesn’t require a server and it doesn’t require configuration, but it still provides all essential relational database features including SQL syntax, transactions, indexes, and even common table expressions. I created an UWP sample app that
- creates and populates a new SQLite database, and
- demonstrates all SQL CRUD operations: select, insert, update, and delete, and
- is a more or less representative for a business app.
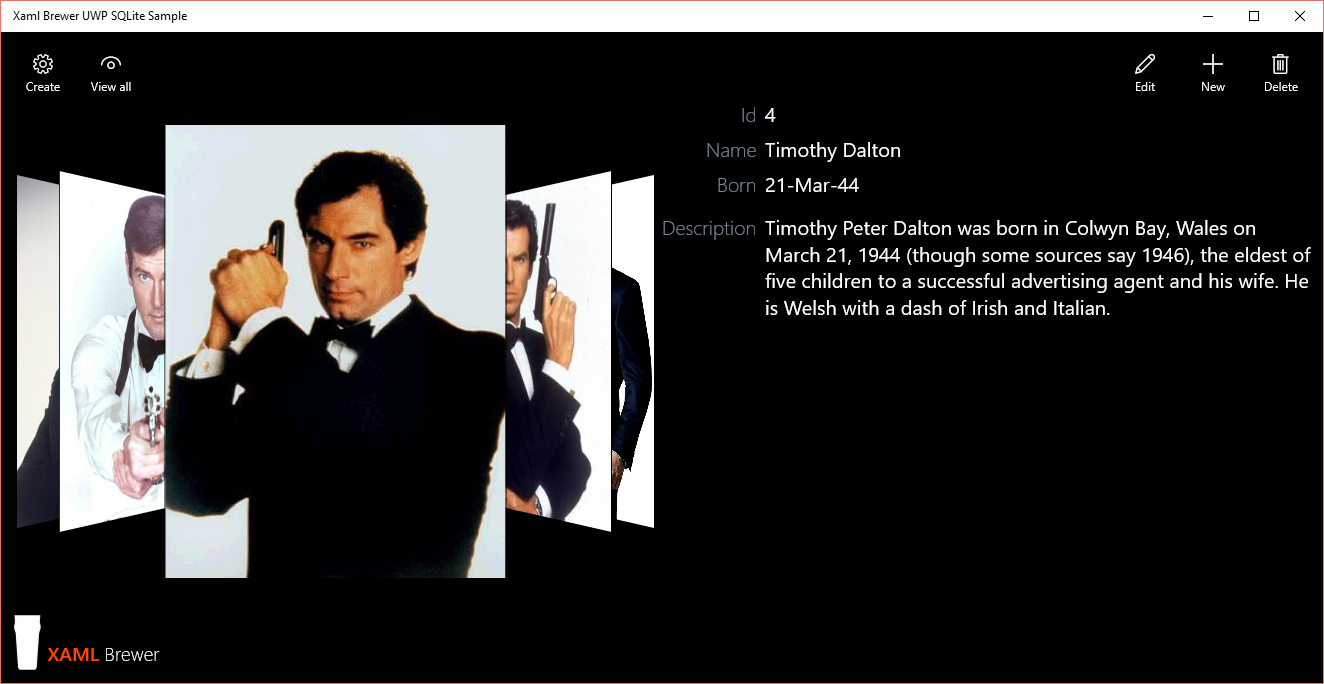
Here’s how the app looks like in browse mode:
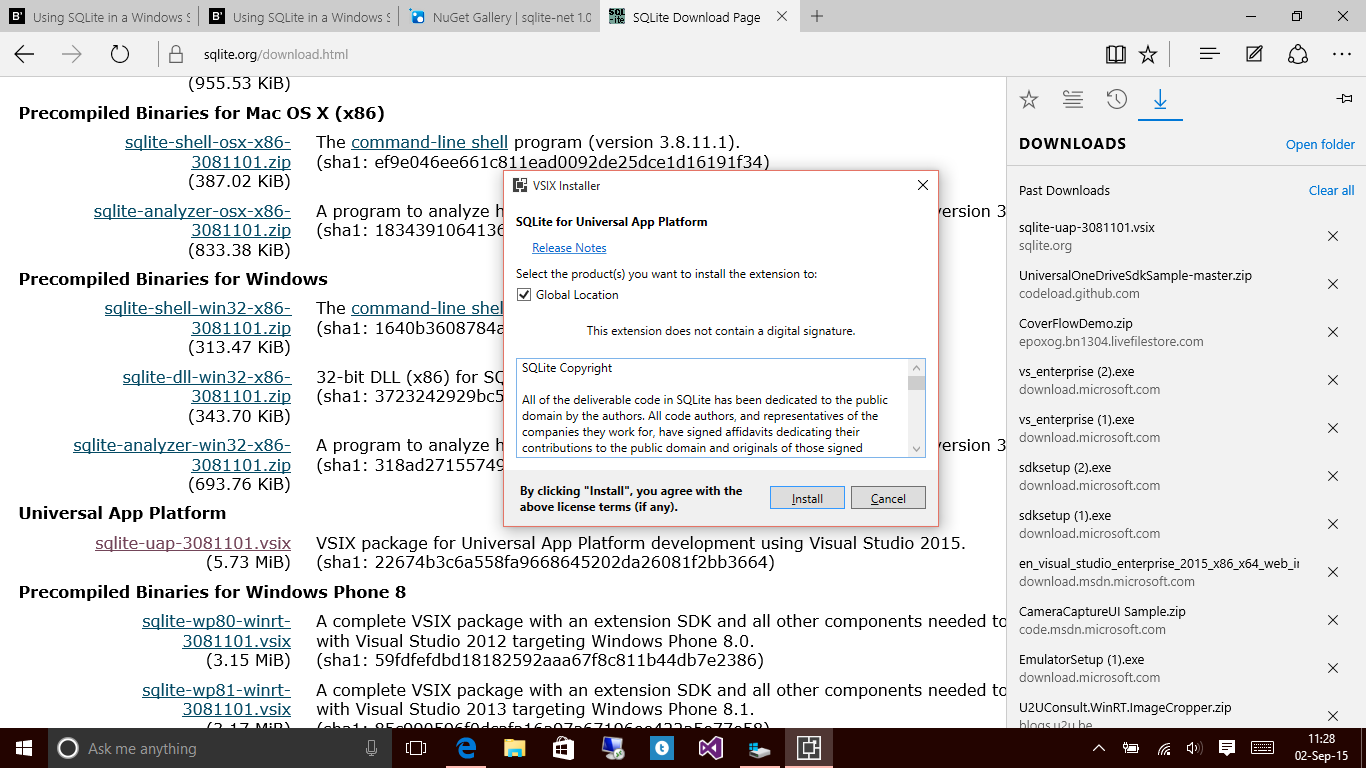
Before you can use SQLite in a UWP app, you need to install the VSIX package for Universal App Platform development using Visual Studio 2015 from the SQLite download page:
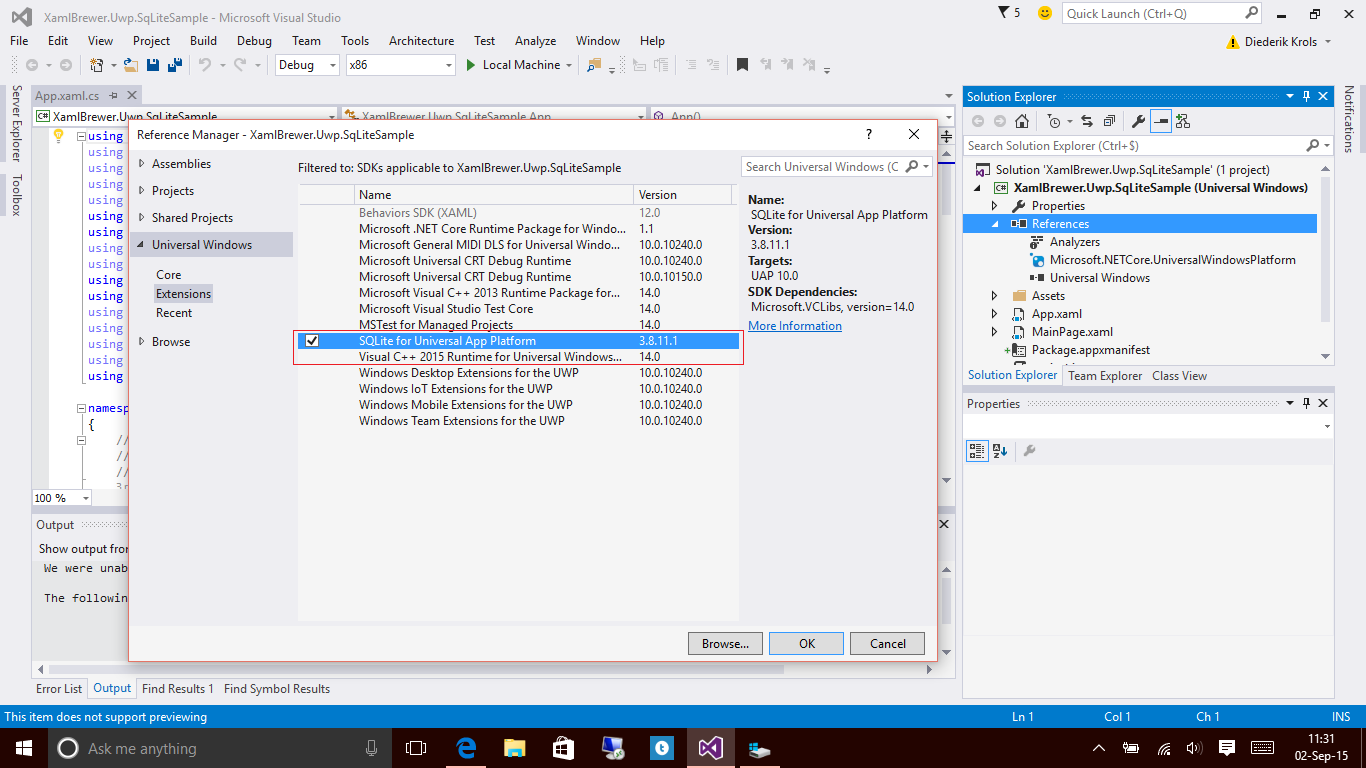
Then add a reference to the engine and to the C++ runtime on which it depends (Visual Studio will warn you if you forget the latter):
Your code now has access to the SQLite engine, but it makes sense to install a .NET wrapper to facilitate this. At the time of writing this article, it looks like most of the Windows 8.1 wrappers on NuGet are broken. The problems are caused by changes in NuGet. In NuGet 3.1 a package cannot add source code files to a project anymore. The original SQLite.NET package uses this feature, so it cannot be used in Visual Studio 2015. Fortunately a spin-off from this package, the SQLite.NET PCL package and also its asynchronous version still do the trick:
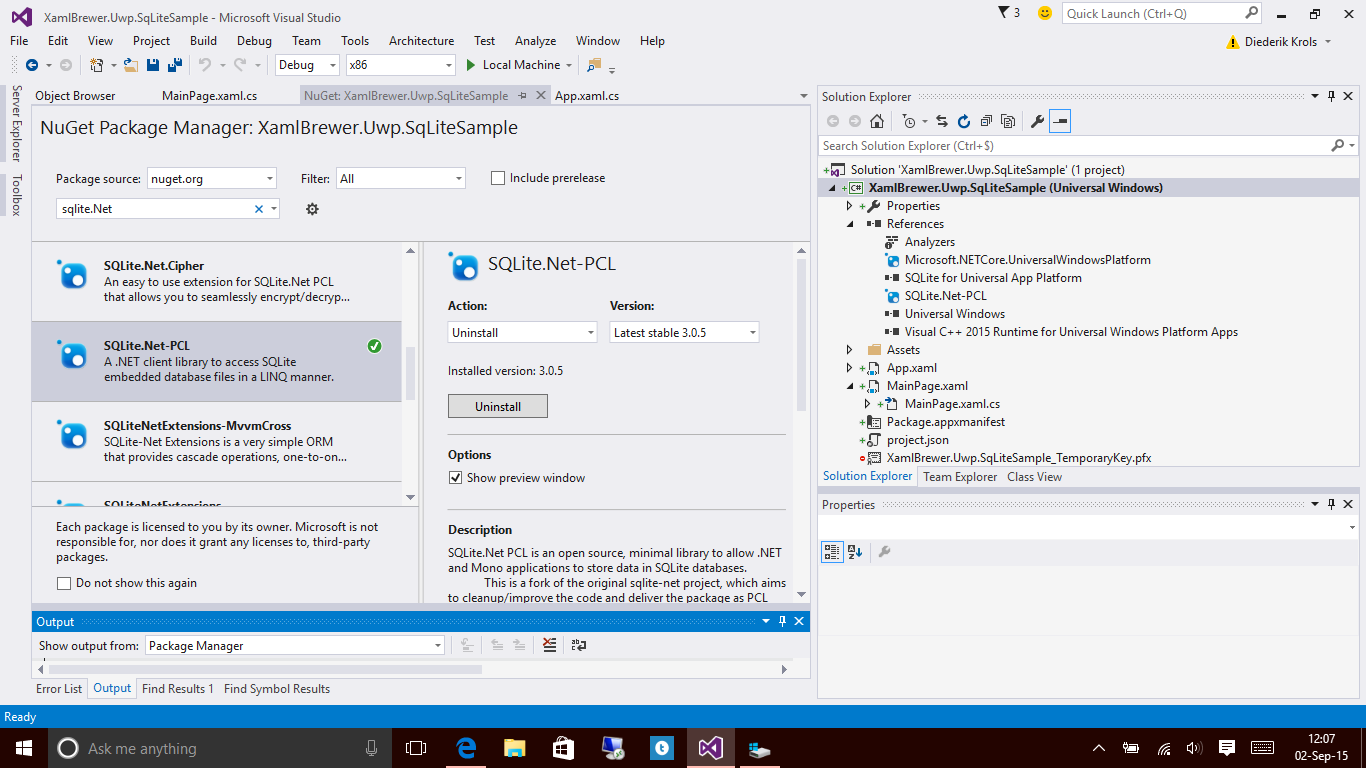
SQLite.Net-PCL exposes a rich API to your code:
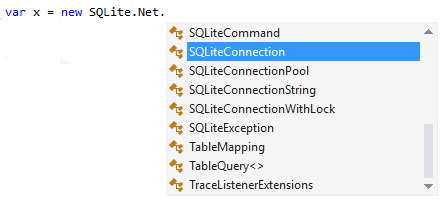
Here’s the entire signature of the SQLiteConnection class:

The SQLiteConnection constructor takes the platform type and the path to the file that hosts the database. Here’s how the methods in the data access layer of sample app get a connection:
private static SQLiteConnection DbConnection
{
    get
    {
        return new SQLiteConnection(
            new SQLitePlatformWinRT(),
            Path.Combine(ApplicationData.Current.LocalFolder.Path, "Storage.sqlite"));
    }
}
For debugging and/or auditing, you can assign a TraceListener to the connection. It will expose all SQLite related messages:
// Create a new connection
using (var db = DbConnection)
{
    // Activate Tracing
    db.TraceListener = new DebugTraceListener();
    // Database stuff.
    // ...
}
You just need to implement the ITraceListener interface. Here’s the listener in the sample app that sends all SQLite info to the Debug window:
/// <summary>
/// Writes SQLite.NET trace to the Debug window.
/// </summary>
public class DebugTraceListener : ITraceListener
{
    public void Receive(string message)
    {
        Debug.WriteLine(message);
    }
}
The code-first approach works very well in SQLite: the easiest way to create tables is by first defining your model classes. I created a Person class, with some properties of simple atomic data types, but also some more challenging data types: a Picture (a Blob in the database, a byte array in the model, an ImageSource in the viewModel) and a DateTime (a typical show stopper in many cross platform environments). The model class members are decorated with attributes to indicate keys, value generation algorithms, and validation constraints:
internal class Person
    {
        /// <summary>
        /// Gets or sets the identifier.
        /// </summary>
        [PrimaryKey, AutoIncrement]
        public int Id { get; set; }

        /// <summary>
        /// Gets or sets the name.
        /// </summary>
        [MaxLength(64)]
        public string Name { get; set; }

        /// <summary>
        /// Gets or sets the description.
        /// </summary>
        public string Description { get; set; }

        /// <summary>
        /// Gets or sets the day of birth.
        /// </summary>
        public DateTime DayOfBirth { get; set; }

        /// <summary>
        /// Gets or sets the picture.
        /// </summary>
        public byte[] Picture { get; set; }
    }
To create the table, just call … CreateTable … and provide the model type. For those who want to inspect the table structure programmatically, GetMapping reveals the entire table definition (columns, keys, indices, mappings):
// Create the table if it does not exist
var c = db.CreateTable<Person>();
var info = db.GetMapping(typeof(Person));
Records can be saved to the table by InsertOrReplace. The Id property was set to AutoIncrement, so it’s not mandatory for new records. But you can provide a value if you want. This is what I do in the initial load of the table:
// Populate the database
Person person = new Person();
person.Id = 1;
person.Name = "Sean Connery";
// (more property assignments here)
var i = db.InsertOrReplace(person);
Here’s the code behind the Save button of the sample app – the Insert method will generate the primary key of the new record:
// Save a Person (from UI)
if (person.Id == 0)
{
    // New
    db.Insert(person);
}
else
{
    // Update
    db.Update(person);
}
Records can be selected using LINQ. You don’t have to know the table names, Table<T>() returns the table in which you store entities of type T:
// Retrieve all Persons
List<Person> people = (from p in db.Table<Person>()
                       select p).ToList();
// Fetch a Person by Id
Person m = (from p in db.Table<Person>()
where p.Id == Id
select p).FirstOrDefault();
Finally, the Delete method can be called to remove records. If you want, you can use SQL syntax for all operations, instead of working with model instances:
// Delete a Person
// Using the object model:
db.Delete(person);

// Using SQL syntax:
db.Execute("DELETE FROM Person WHERE Id = ?", person.Id);
All SQLite related code in the sample app is consolidated in the Dal.cs class. The rest of the app tries to mimic a MVVM business app. Here it is in Edit mode, with all TextBlocks replaced by TextBoxes, DatePicker, and Buttons that open FilePickers:
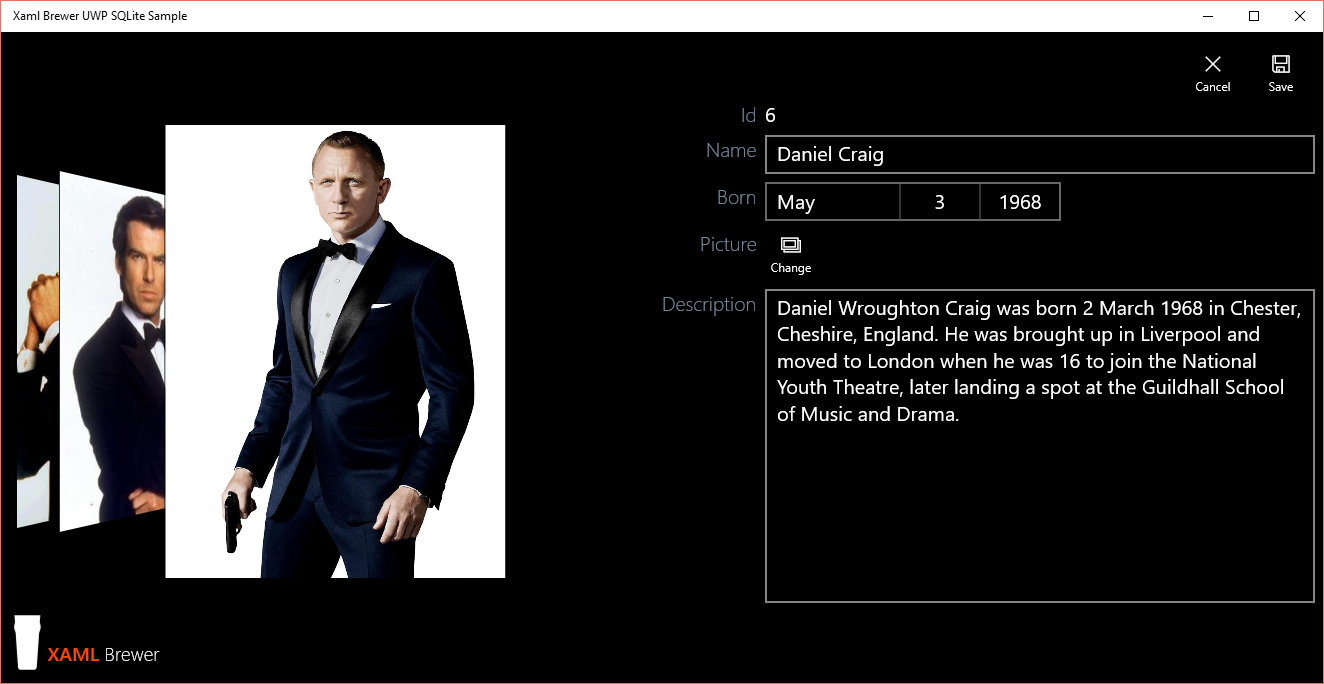
There’s a converter between the DatePicker’s Date property (of type DateTimeOffset) and the Person’s DayOfBirth (of type DateTime). If you don’t do that, then the user’s time zone is taken into account, and that can give nasty surprises:
public class DateTimeToDateTimeOffsetConverter : IValueConverter
    {
        public object Convert(object value, Type targetType, object parameter, string language)
        {
            try
            {
                DateTime date = (DateTime)value;
                return new DateTimeOffset(date);
            }
            catch (Exception ex)
            {
                return DateTimeOffset.MinValue;
            }
        }

        public object ConvertBack(object value, Type targetType, object parameter, string language)
        {
            try
            {
                DateTimeOffset dto = (DateTimeOffset)value;
                return dto.DateTime;
            }
            catch (Exception ex)
            {
                return DateTime.MinValue;
            }
        }
    }
To make the date of birth independent from the time zone (which it actually isn’t), all programmatically created DateTime values are defined using the UTC format:
person.DayOfBirth = new DateTime(1930, 8, 25, 0, 0, 0, DateTimeKind.Utc);
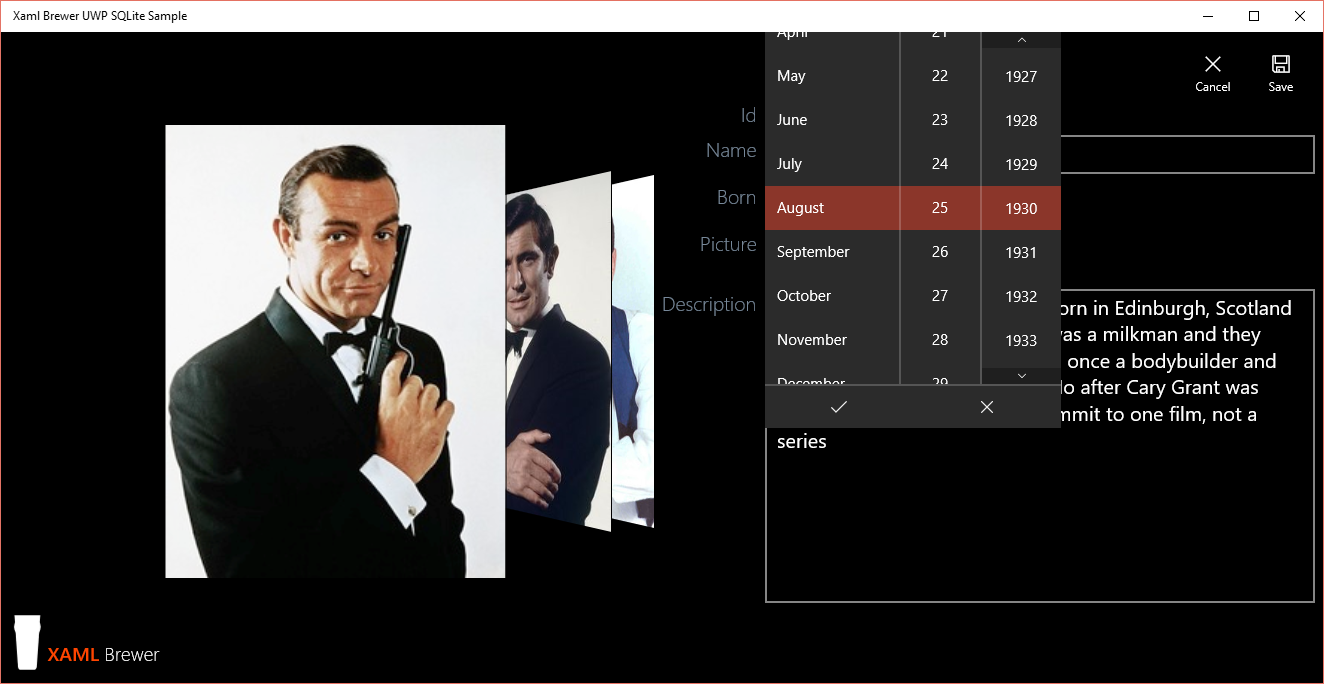
Otherwise -on my machine- a value of DateTime(2015, 25, 12) would appear as ‘24 DEC 2015’ after the subtraction of one hour for the time zone and one hour for daylight savings time. That’s the kind of confusion you want to avoid, I guess. Anyway, here’s how the UWP DatePicker looks like on a tablet:
That’s it. As you see, SQLite is feature rich and easy to use on any platform, including the Universal Windows Platform.
As usual, the source code of the sample app lives on GitHub. It was written in Visual Studio 2015.
Enjoy!
XAML Brewer