This article describes how you can use naming conventions to hook a XAML Data Template to a ViewModel or a Model in a Windows 8 Store app. The last couple of years, convention-based coding became more and more popular in the .NET world. The MVC framework was one of the first managed environments where the constituents of an application (in this case Models, Views, and Controllers) were automatically linked to each other based on their name, instead of letting a developer create references and interfaces. The latest version of the Managed Extensibility Framework –a.k.a. MEF- also comes with a convention-based programming model: the RegistrationBuilder and PartBuilder classes provide an alternative for MEF attributes: they let you specify the rules to infer Parts, Imports, and Exports from the names of your classes and properties. Also in the XAML world, convention-based coding is not new. Most of the popular MVVM frameworks rely heavily on naming conventions to link components together. Caliburn.micro has several classes to lookup the View for a ViewModel (and vice-versa) and to generate data bindings solely based on class and property names: ViewLocator, ViewModelLocator, and ViewModelBinder.
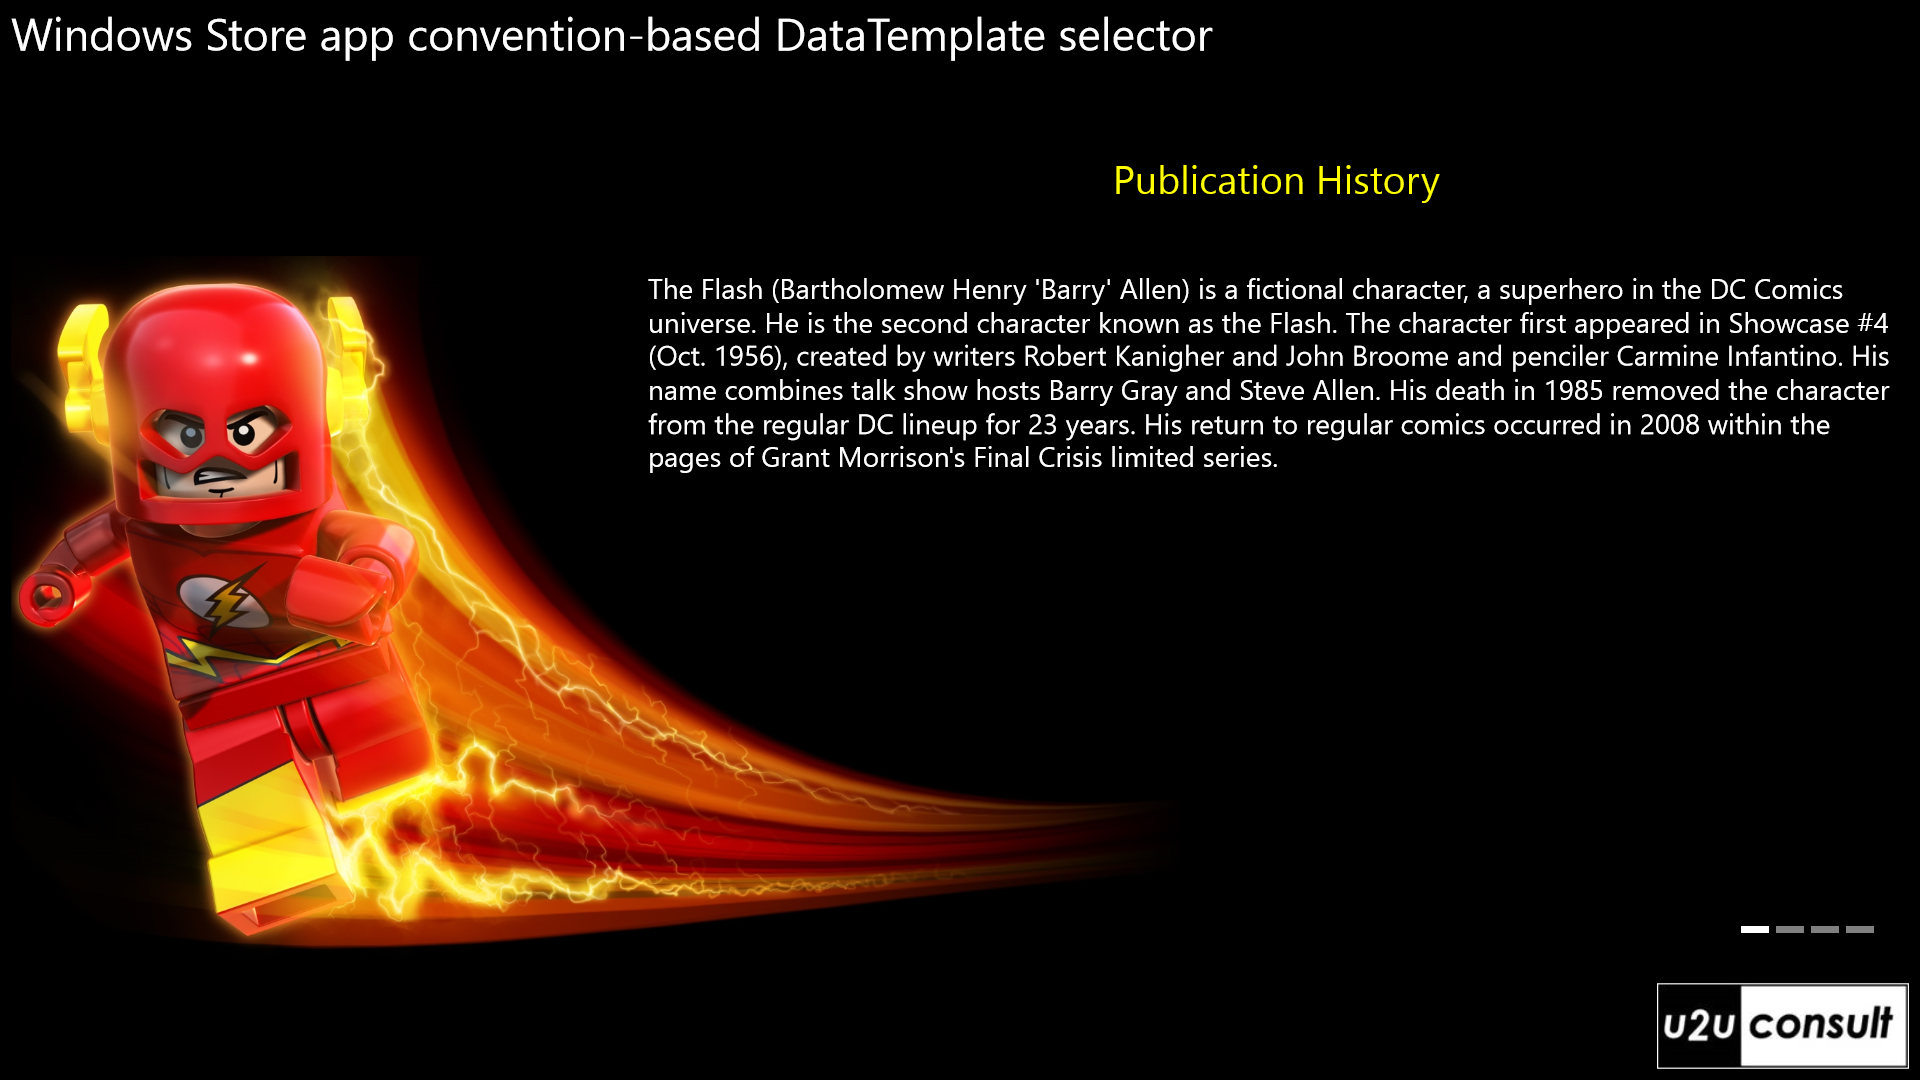
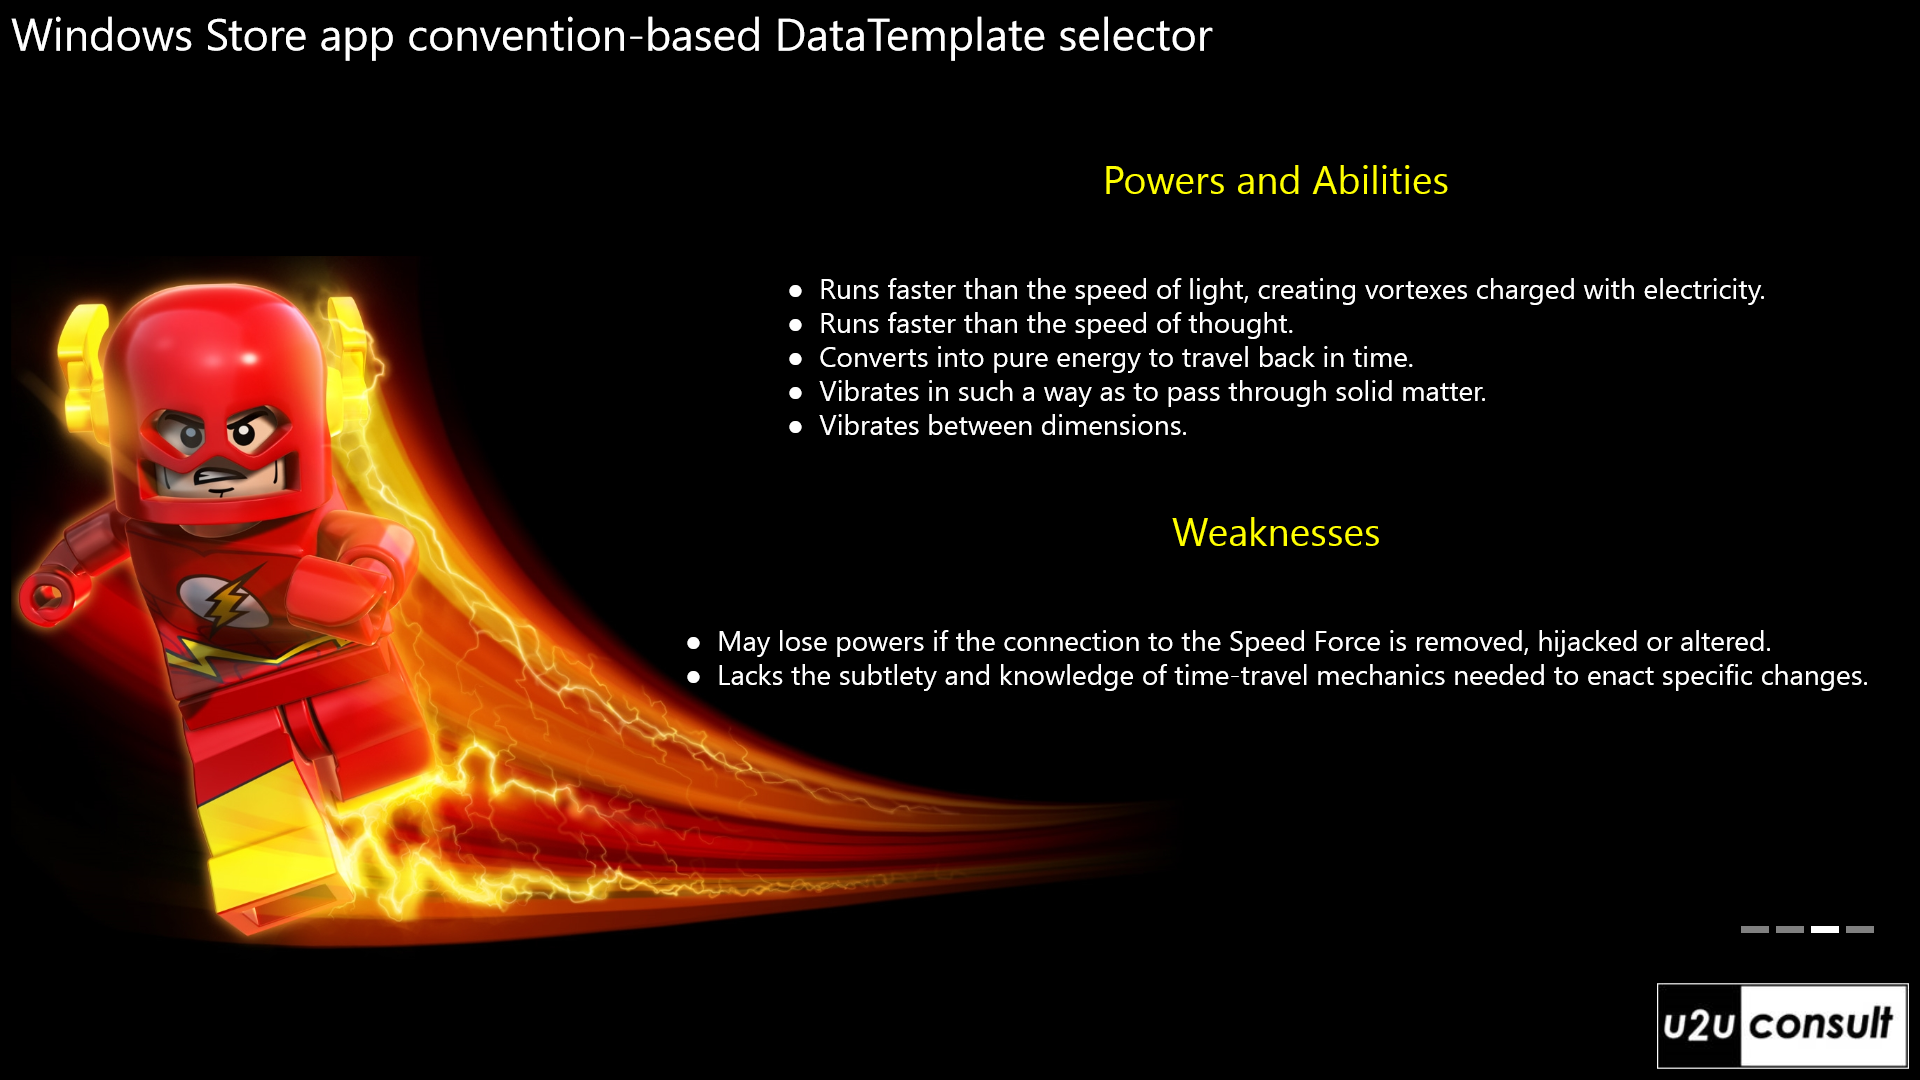
This article presents a way to link a XAML DataTemplate in a View to its corresponding Model or ViewModel data context class. Here are some screenshots of the attached sample project: it shows a FlipView control (with an associated FlipViewIndicator) that has a different type of Model for each item, so each page should look differently:


In ye olde XAML platforms, you could specify the default data template for a class with the DataType property. In Windows 8 Store app XAML, that property is not supported anymore. So when you want an ItemsControl to display a list of objects of different types, you have to use a DataTemplateSelector. I already explained the mechanisms in this blog post.
The following class defines a data template selector that looks up a data template in the app’s resources, based on the name of the data context class. It just adds “Template” to the name of the data context class, so if you want to display an instance of “Person”, you just have to provide a data template with as x:Key “PersonTemplate”:
/// <summary>
/// Convention-based DataTemplate Selector.
/// </summary>
public sealed class DynamicDataTemplateSelector : DataTemplateSelector
{
    protected override DataTemplate SelectTemplateCore(object item, DependencyObject container)
    {
        DataTemplate result = null;
        string typeName = item.GetType().Name;

        try
        {
            result = App.Current.Resources[typeName + "Template"] as DataTemplate;
        }
        catch (Exception)
        {
            Debug.Assert(false, string.Format("No data template found to display '{0}' instances.", typeName));
        }

        return result;
    }
}
The try-catch block is necessary because the resource manager throws an exception when a resource is not found.
Here’s how to apply the selector in an ItemsControl. It is declared as a resource:
<Page.Resources>
    <templates:DynamicDataTemplateSelector x:Key="DynamicDataTemplateSelector" />
</Page.Resources>
And then applied to the FlipView:
<FlipView x:Name="TheFlipView"
            ItemsSource="{Binding Models}"
            ItemTemplateSelector="{StaticResource DynamicDataTemplateSelector}" />
Here are some of the data templates from the resource dictionary:
<!-- Biography -->
<DataTemplate x:Key="BiographyTemplate">
    <Grid>
        <Grid.RowDefinitions>
            <RowDefinition Height="auto" />
            <RowDefinition Height="*" />
        </Grid.RowDefinitions>
        <Grid.ColumnDefinitions>
            <ColumnDefinition Width="*" />
        </Grid.ColumnDefinitions>
        <TextBlock Text="{Binding Name}"
                    Foreground="Yellow"
                    FontSize="28"
                    HorizontalAlignment="Center"
                    Margin="0 48 0 0" />
        <TextBlock Text="{Binding  Description}"
                    Grid.Row="1"
                    FontSize="20"
                    TextWrapping="Wrap"
                    Margin="0 48 0 0" />
    </Grid>
</DataTemplate>

<!-- Powers And Abilities -->
<DataTemplate x:Key="PowersAndAbilitiesTemplate">
    <Grid>
        <Grid.RowDefinitions>
            <RowDefinition Height="auto" />
            <RowDefinition Height="auto" />
            <RowDefinition Height="auto" />
            <RowDefinition Height="*" />
        </Grid.RowDefinitions>
        <Grid.ColumnDefinitions>
            <ColumnDefinition Width="*" />
        </Grid.ColumnDefinitions>
        <TextBlock Text="{Binding Name}"
                    Foreground="Yellow"
                    FontSize="28"
                    HorizontalAlignment="Center"
                    Margin="0 48 0 0" />
        <ItemsControl ItemsSource="{Binding Powers}"
                        Grid.Row="1"
                        Margin="0 48 0 0"
                        HorizontalAlignment="Center">
            <ItemsControl.ItemTemplate>
                <DataTemplate>
                    <TextBlock FontSize="20">
                        <Run Text="● " />
                        <Run Text="{Binding}" />
                    </TextBlock>
                </DataTemplate>
            </ItemsControl.ItemTemplate>
        </ItemsControl>
        <TextBlock Text="Weaknesses"
                    Grid.Row="2"
                    Foreground="Yellow"
                    FontSize="28"
                    HorizontalAlignment="Center"
                    Margin="0 48 0 0" />
        <ItemsControl ItemsSource="{Binding Weaknesses}"
                        Grid.Row="3"
                        Margin="0 48 0 0"
                        HorizontalAlignment="Center">
            <ItemsControl.ItemTemplate>
                <DataTemplate>
                    <TextBlock FontSize="20">
                        <Run Text="● " />
                        <Run Text="{Binding}" />
                    </TextBlock>
                </DataTemplate>
            </ItemsControl.ItemTemplate>
        </ItemsControl>
    </Grid>
</DataTemplate>
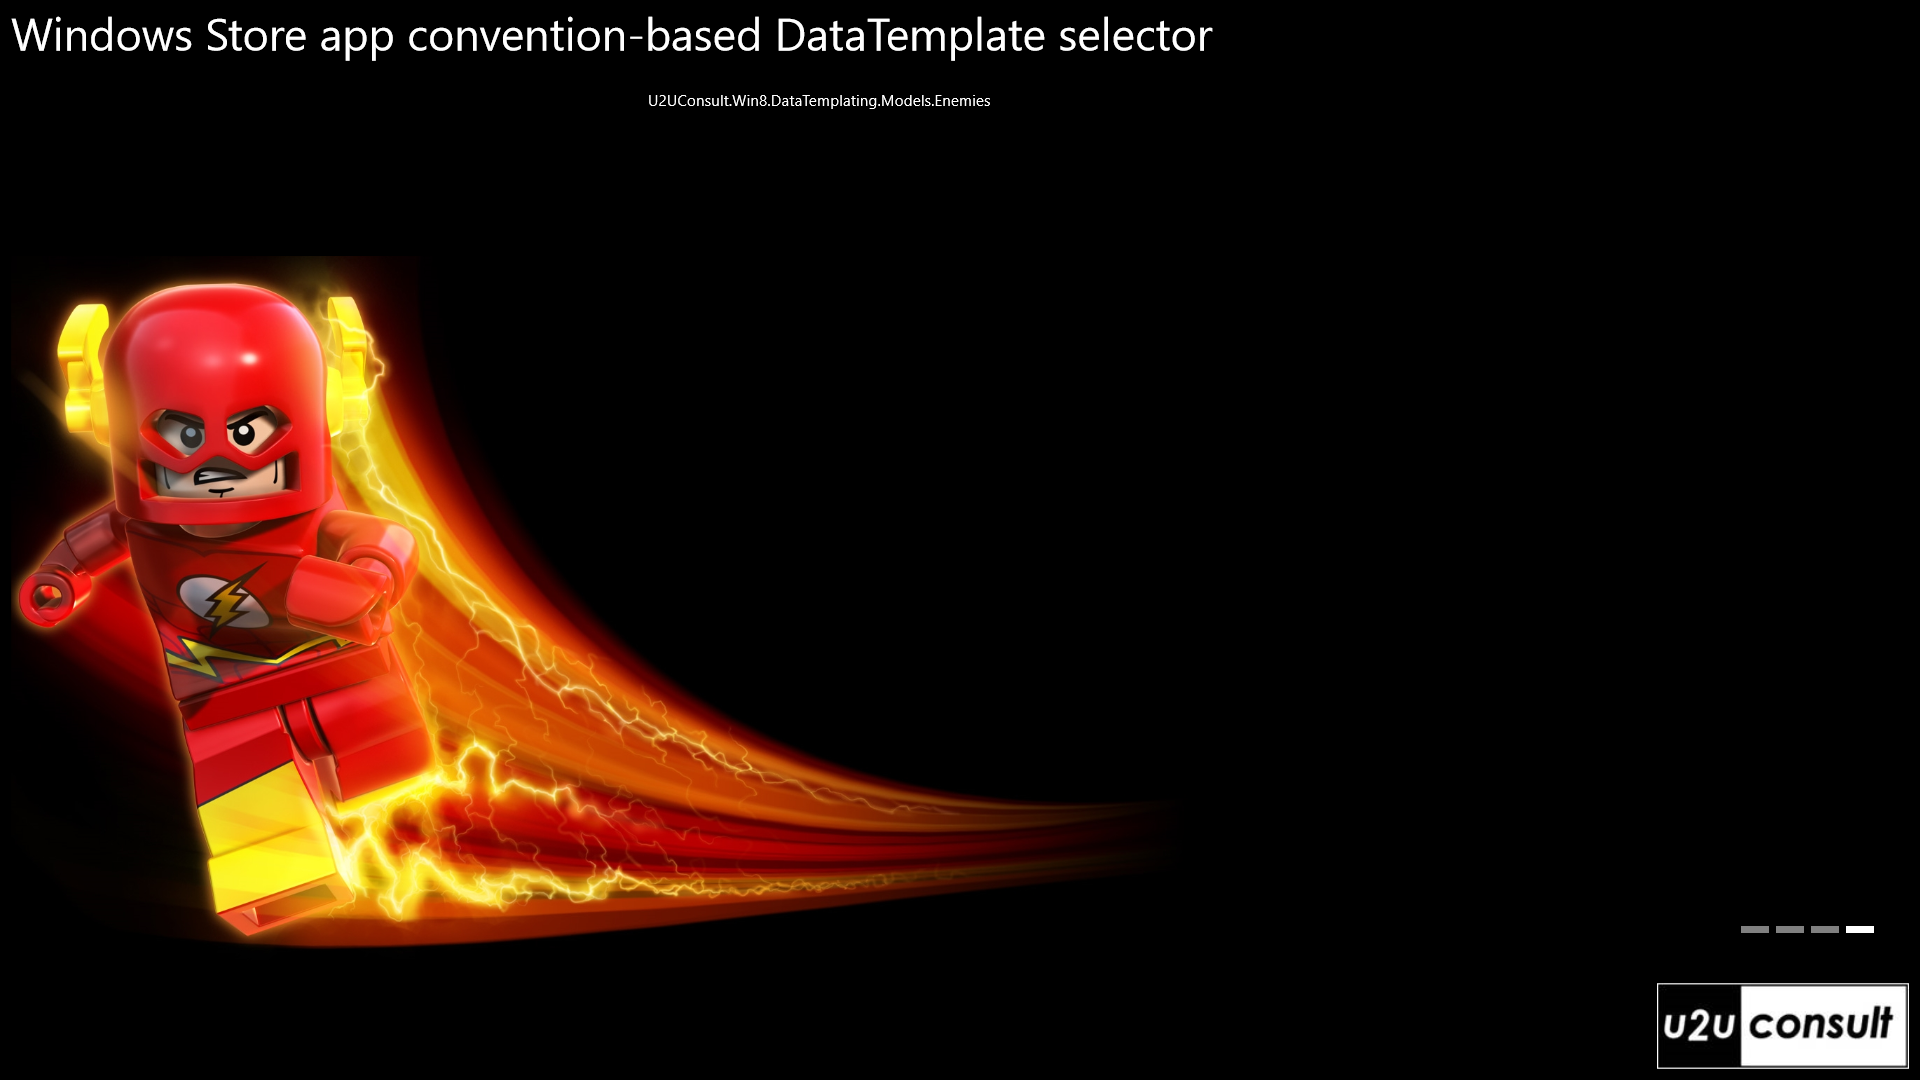
When a data template is not found in the resources, the selector returns a Null value. The data binding engine then applies a default template, with the fully qualified type name in a text box. Here’s how this looks like:

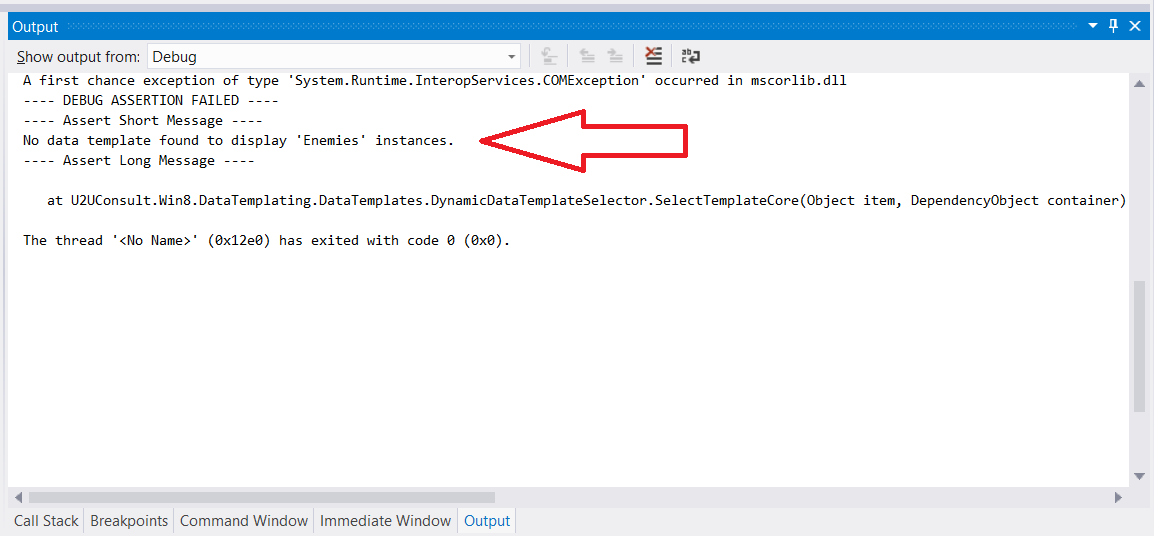
During debugging, the Assert statement writes an exception to the output window when the template is not found, like this:

That’s all there is. Actually, the title of this article was longer than its source code. Here is the sample app: U2UConsult.Win8.DataTemplating.zip (692.39 kb)
Enjoy!
Diederik