In a recent Windows 8 XAML Store app I needed to allow the user to select an area in a displayed image, and get a reference to that area as a writeable bitmap. So I downloaded the official ‘How to crop bitmap in a Windows Store app’ sample on MSDN. It had exactly what I was looking for: a nice templateable UI to highlight an area in a picture, shading on the non-selectable area if the picture is stretched (StretchToFill would hide parts of the source image and hence make these unselectable), and cropping code that runs fast and does not rely on an external assembly (such as WriteableBitmapEx). My app was operational in no time, after copy-pasting the relevant code.
That was the good news, here comes the bad news. The MSDN sample has a few helper classes, but still does a lot of the calculation and manipulation directly in the code-behind of the main page. That really cluttered up my app code – even when separating some of the stuff in partial classes. So I decided to factor out the image cropping UI and logic into a separate control. The ImageCropper was born.
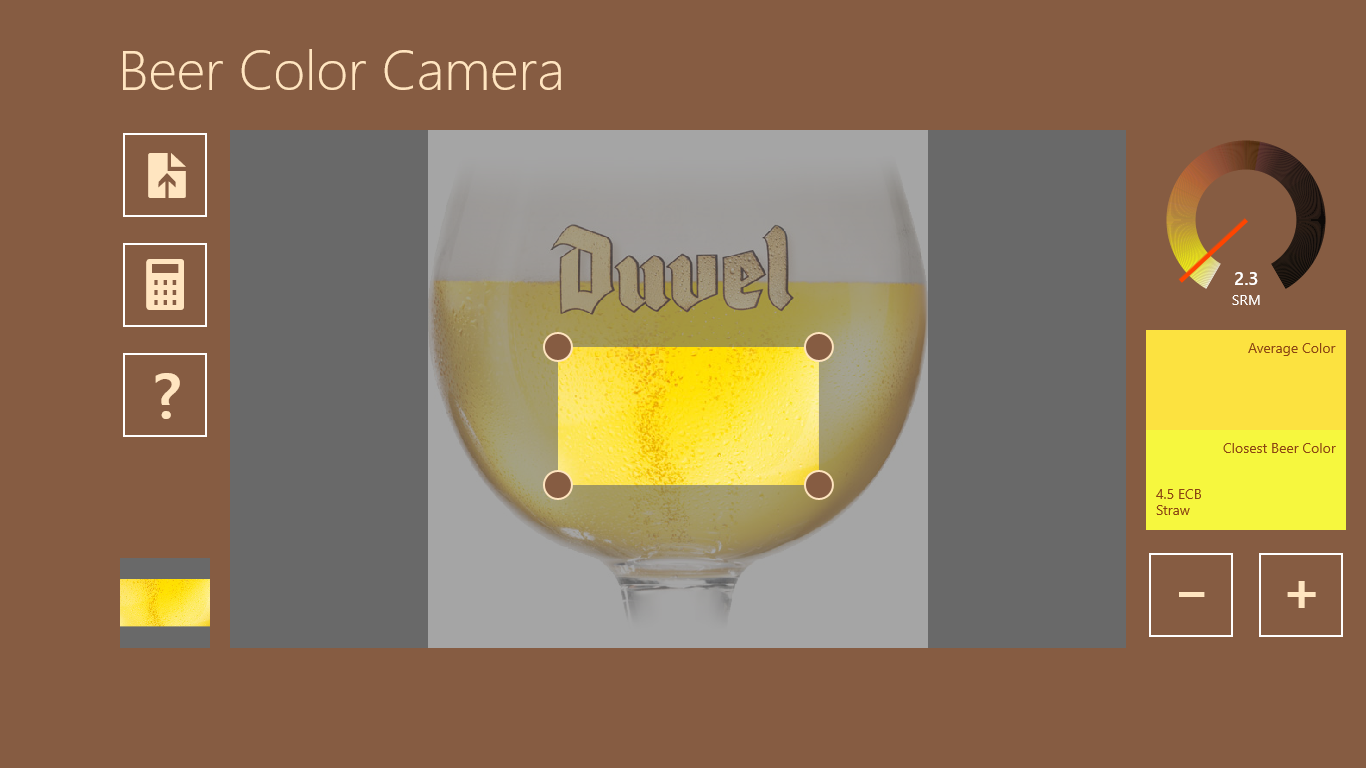
Here’s that control in action - it's the big one in the middle displaying a great Belgian craft beer. It shows the full source image (uniformly stretched) as selectable area, the non-selectable area in darker gray, and a resizable and draggable selected area. At the bottom left of the page there's a thumbnail image of that selected area:

You can download this free app from here.
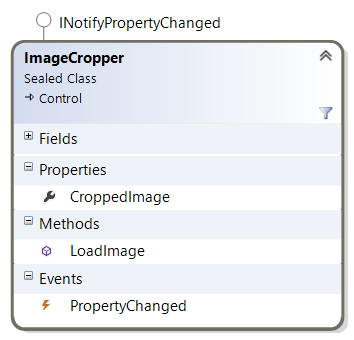
In UML, the ImageCropper user control looks like this:

To use it, all you have to do is drop it in a view:
<controls:ImageCropper x:Name="ImageCropper" />
I’m not going to elaborate on the area selection or bitmap cropping algorithms, I largely reused the helper classes from the original sample: they work and they’re fast enough. Let's focus on the public interface.
To assign the image, I created a LoadImage method that takes a StorageFile. That was convenient, since in my app the image would be provided through a FileOpenPicker:
FileOpenPicker openPicker = new FileOpenPicker();
openPicker.ViewMode = PickerViewMode.Thumbnail;
openPicker.SuggestedStartLocation = PickerLocationId.PicturesLibrary;
openPicker.FileTypeFilter.Add(".jpg");
openPicker.FileTypeFilter.Add(".jpeg");
openPicker.FileTypeFilter.Add(".bmp");
openPicker.FileTypeFilter.Add(".png");
StorageFile imgFile = await openPicker.PickSingleFileAsync();
if (imgFile != null)
{
    await this.ImageCropper.LoadImage(imgFile);
}
[I know: for MVVM-friendliness the control would better have a dependency property of the ImageSource type.]
The selected area is exposed as a WriteableBitmap through a regular property called CroppedImage. If you want to display that area in a separate Image control, just use an element binding:
<Image Source="{Binding CroppedImage, ElementName=ImageCropper}" />
That's easy enough, isn't it?
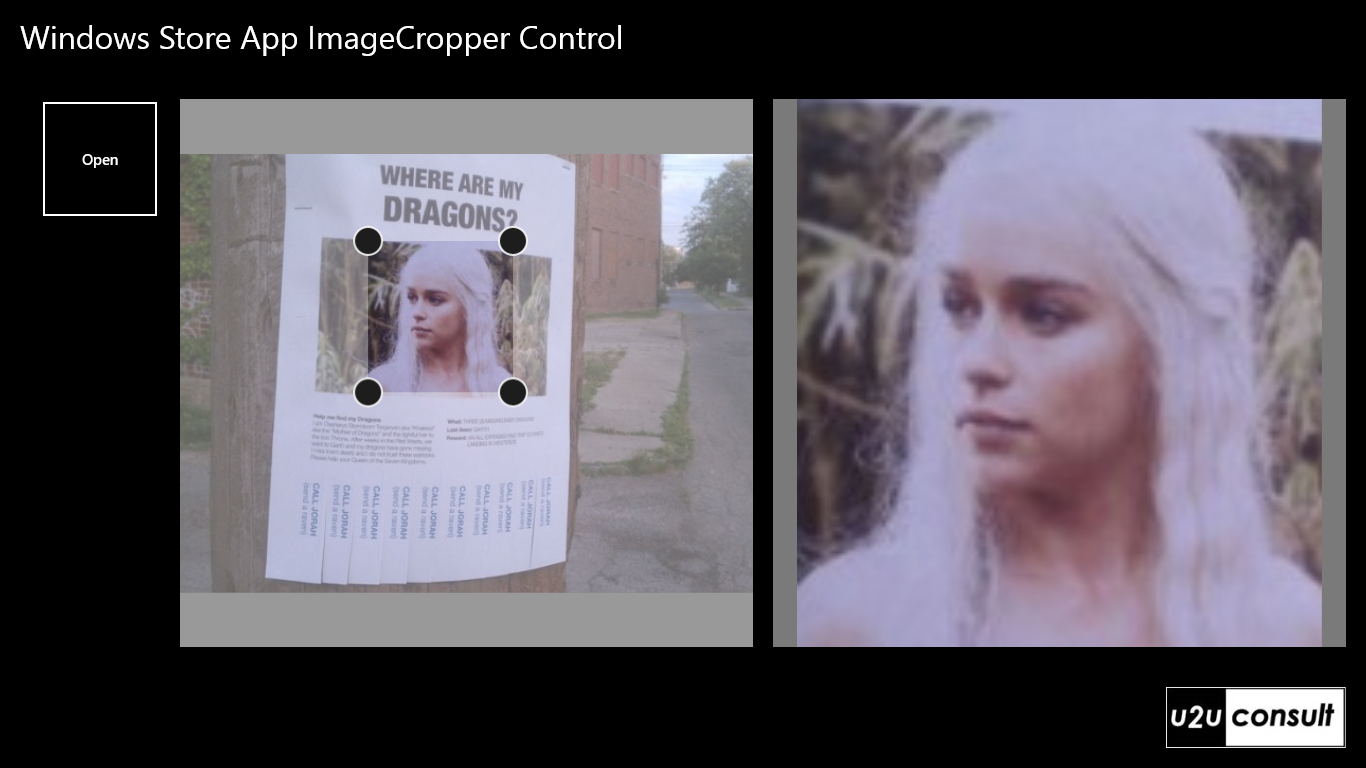
As usual I'm sharing the source code through a sample app. Here’s a screenshot of it. On the left, there’s the ImageCropper. On the right there’s an Image control that is bound to the selected area:

Although there’s room for improvement, I’m happy with the result. The control is easily reusable in other apps. Besides that, the hosting app itself is a lot more maintainable. Here are the metrics of the Beer Color Camera app before and after the refactoring:


With just over 200 lines removed, both class coupling and cyclomatic complexity went drastically down, and maintainability went up.
And one more thing.
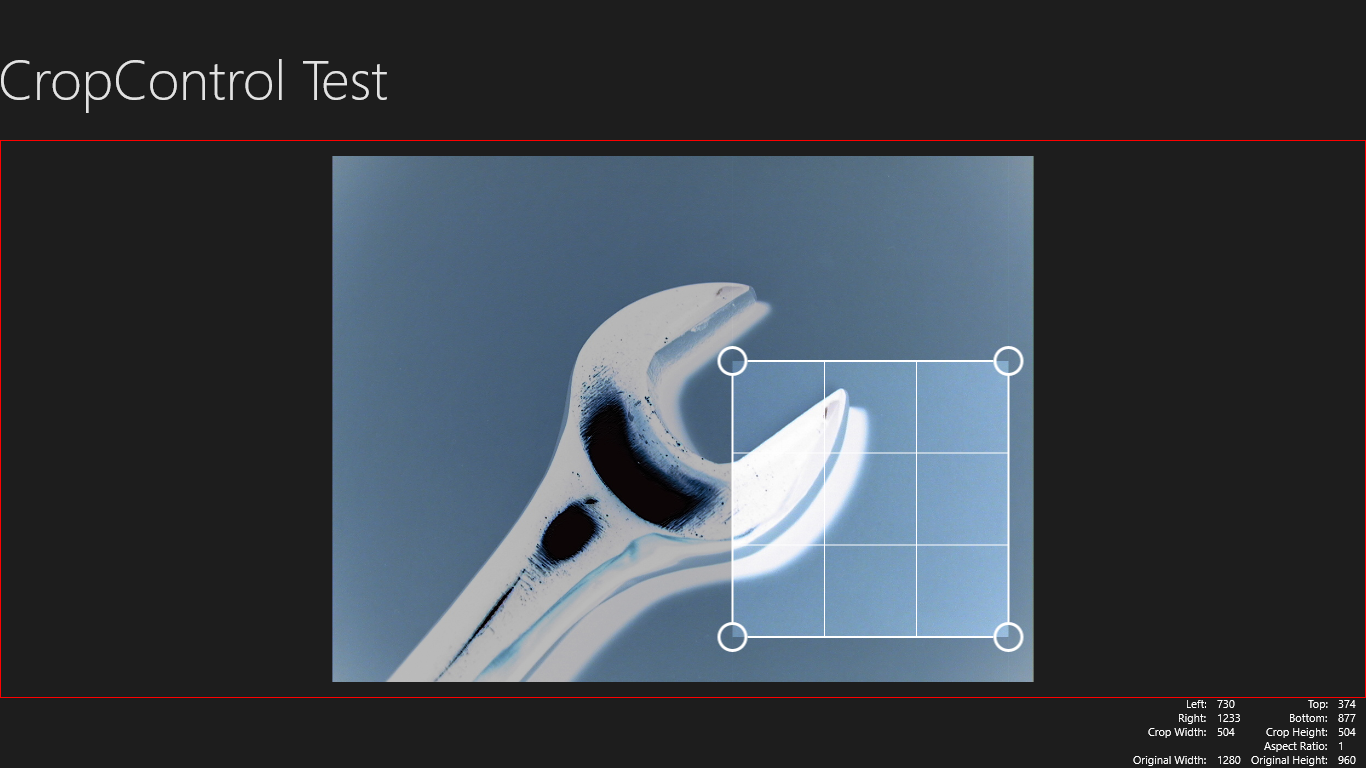
The ImageCropper control that I present here, is reusable. But as I already mentioned, there’s room for improvement. It is only after I finished it, that I discovered the XAML Crop Control on CodePlex. Here’s how that one looks like:

It comes with the ImageSource dependency property that I’m looking for. It’s less templateable. Instead of coming from a XAML template, the lines and corner thumbs are hardcoded. But that’s not really a show stopper, since this UI is universal. Unfortunately the XamlCropControl only provides the cropping UI. It does not expose the selected area as a bitmap, just the area’s corner coordinates. So you have to do the bitmap generation yourself. I'm currently figuring out what would make more sense: adding ImageSource to ImageCropper, or adding CroppedImage to XamlCropControl. I'll keep you informed...
Here’s the source code of the sample project. The ImageCropper control sits in its own project: U2UConsult.WinRT.ImageCropper.zip (165.57 kb)
Enjoy!
Diederik