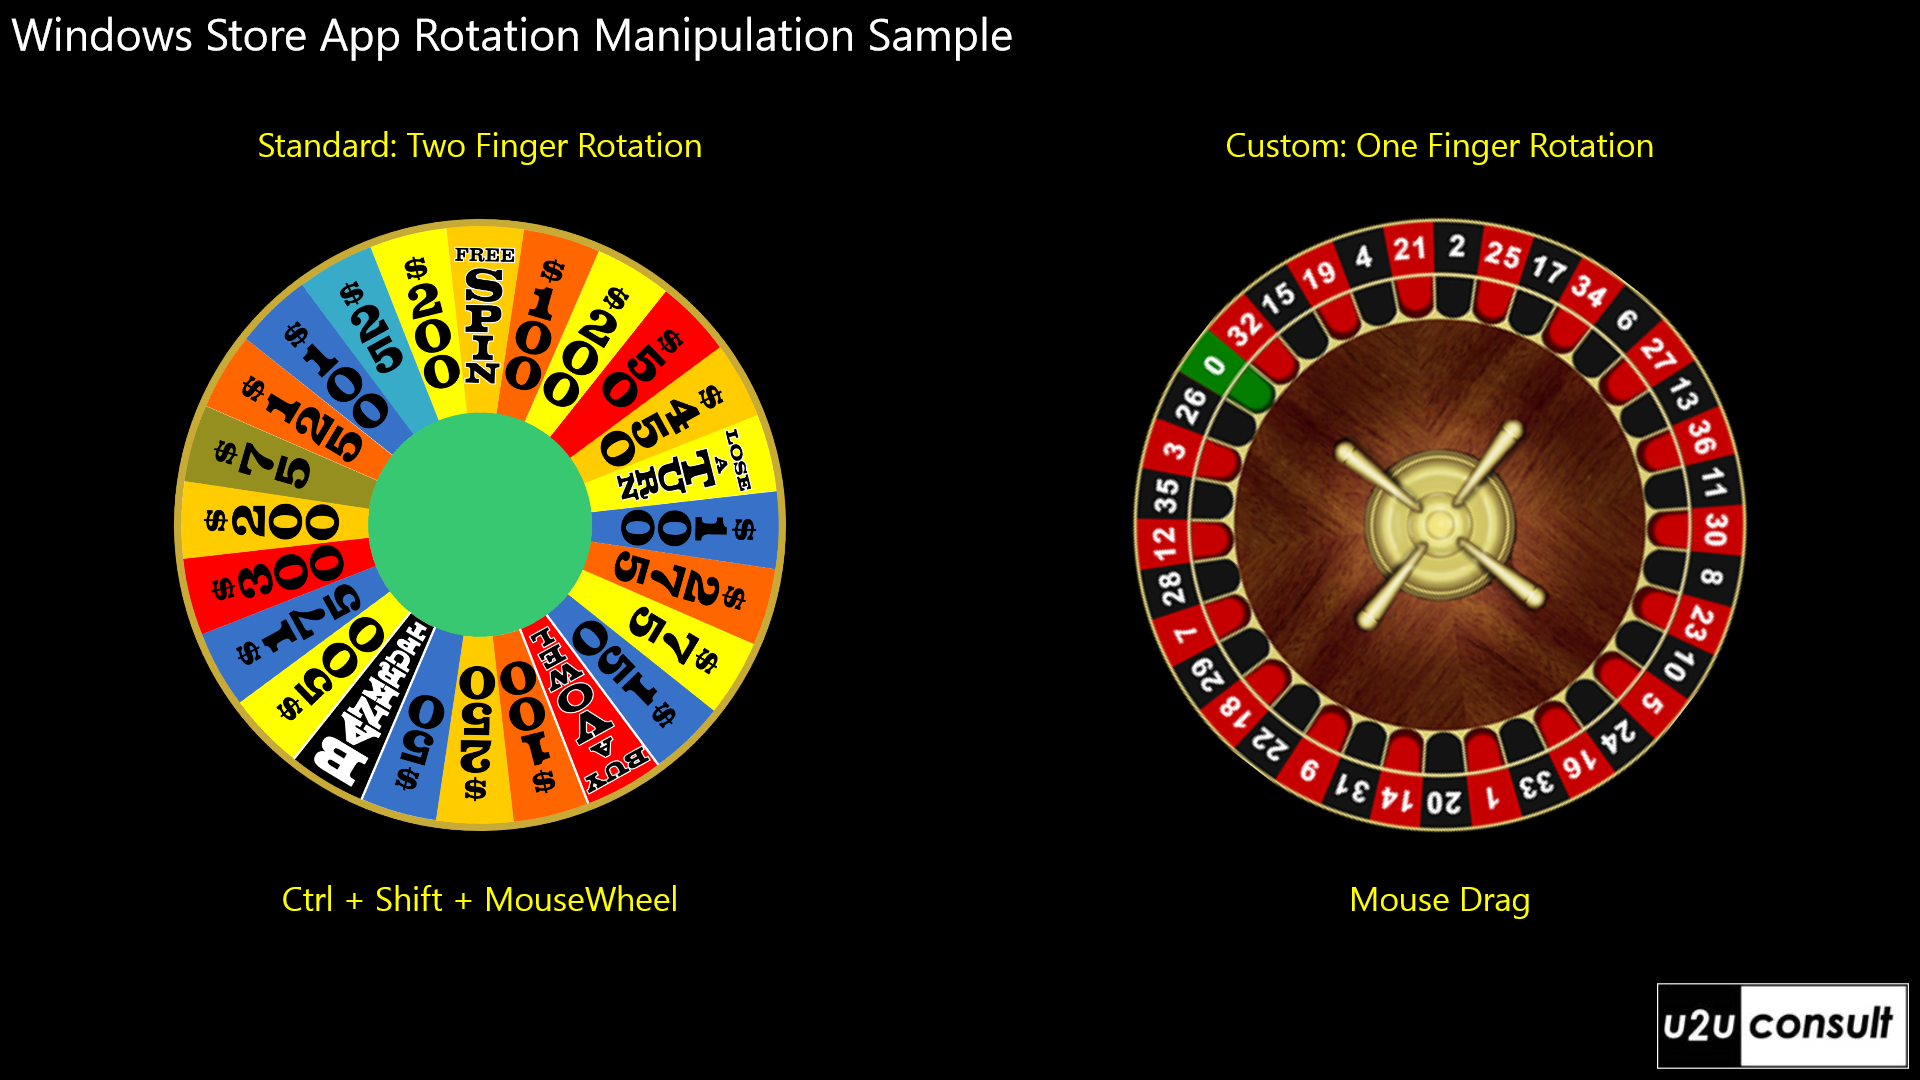
This article illustrates two ways of using touch or mouse input to rotate a UI element in a XAML-based Windows 8 Store app. I’m sharing this code because I believe that the corresponding official MSDN sample is too complex. Don't get me wrong: the Windows 8 gestures sample looks nice and gives a complete overview of all gestures and their mouse equivalent. But it uses three entire classes to do something that you can literally do in three lines of code. In this article, I’ll describe the guidelines-compliant way of rotating an element using a two-finger gesture, but I also provide a one-finger alternative. Since not everyone has a touch screen (yet), I also give you two ways for using the mouse to rotate an element. As usual, the article comes with a downloadable sample app. It just displays two round rotatable images. Here’s a screenshot of it:
Multi Touch Rotation
A UI Element can register for rotation by setting its ManipulationMode to Rotate, optionally adding inertia. Multiple manipulation modes can be set in XAML through a comma-separated list. Just ignore Intellisense and don’t use the property editor:
<Image ...
       ManipulationMode="Rotate,RotateInertia"  />
Setting the manipulation mode causes the corresponding manipulation events (starting, inertiaStarting, started, delta, and completed) to fire. You find the complete list of events and event argument classes in the Touch Input Quickstart.
You still have to code what should happen in your app. Typically that boils down to configuring the element’s RenderTransform. To simplify the code in the event handlers, I gave the image a named rotation transformation:
<Image x:Name="Left"
        ManipulationMode="Rotate,RotateInertia"
        ManipulationDelta="Left_ManipulationDelta">
    <Image.RenderTransform>
        <RotateTransform x:Name="LeftRotateTransform" />
    </Image.RenderTransform>
</Image>
All you have to do to manually rotate the image, is to subscribe to the ManipulationDelta event, and add the delta's rotation to the element’s rotation transform:
// Called when rotate by touch.
private void Left_ManipulationDelta(object sender, ManipulationDeltaRoutedEventArgs e)
{
    this.LeftRotateTransform.Angle += e.Delta.Rotation;
}
[Tip: You could use the ManipulationCompleted event to implement snap points.]
The pivot point of the rotation is set to the center of the element. For images you can do this in the ImageOpened event. It’s the first event that guarantees that ActualHeight and ActualWidth are set. I must say that every now and then I still get zero values here.
// Called when the image is ready to be rendered. ActualHeight and ActualWidth are known.
private void Image_Opened(object sender, Windows.UI.Xaml.RoutedEventArgs e)
{
    Image img = sender as Image;
    RotateTransform rt = img.RenderTransform as RotateTransform;
    rt.CenterX = img.ActualWidth / 2;
    rt.CenterY = img.ActualHeight / 2;
}
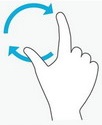
The standard touch-based rotation requires two touch points or more:
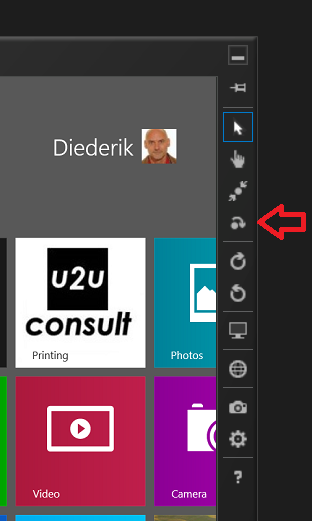
In Visual Studio's Touch Simulator, you can test it with the ‘Rotation touch mode’ button. Press it, hover over the UI element on the page, and scroll the mouse wheel:
On a non-touch device, the guidelines for common user interactions prescribe that a rotation gesture should be triggered by the mouse wheel, with ctrl and shift buttons pressed. So we add an event handler for PointerWheelChanged:
<Image x:Name="Left"
        Grid.Row="1"
        Margin="64 36"
        Source="../Assets/Wheel_of_Fortune.png"
        ManipulationMode="Rotate,RotateInertia"
        ManipulationDelta="Left_ManipulationDelta"
        ImageOpened="Image_Opened"
        PointerWheelChanged="Left_PointerWheelChanged">
    <Image.RenderTransform>
        <RotateTransform x:Name="LeftRotateTransform" />
    </Image.RenderTransform>
</Image>
In the handler, we check whether the shift and control buttons are pressed, and then apply the MouseWheelDelta to the rotation angle. Look at the weird code to get that mouse wheel delta:
// Called when rotate by mousewheel.
private void Left_PointerWheelChanged(object sender, PointerRoutedEventArgs e)
{
    bool shift = (e.KeyModifiers & VirtualKeyModifiers.Shift) == VirtualKeyModifiers.Shift;
    bool ctrl = (e.KeyModifiers & VirtualKeyModifiers.Control) == VirtualKeyModifiers.Control;

    if (shift && ctrl)
    {
        var delta = PointerPoint.GetCurrentPoint(e.Pointer.PointerId).Properties.MouseWheelDelta;
        // With my mouse, delta is a multiple of 30.
        this.LeftRotateTransform.Angle -= delta / 15;
    }
}
Use cases
In scenarios where inertia is needed (e.g. spinning a wheel) the two finger touch rotation is the right match. That manipulation is also very useful for rotating larger elements, with a high precision. For rotating a small element, I wouldn’t recommend this gesture, simply because you don’t see what you’re doing with two or more fingers on it.
For non-touch environments, I’m not sure that the shift-control-mousewheel combination will become popular.
Single Touch Rotation
As an alternative, you can allow a user to put a finger on the element and start dragging. You just need to transform the translation into a rotation with a pinch of trigonometry. It’s easy to build, intuitive, and the code immediately works for the mouse too: click and start dragging. Just enable the TranslateX and TranslateY manipulation modes (and optionally add inertia), register a handler for ManipulationDelta, and initialize the RenderTransform:
<Image ...
       ManipulationMode="TranslateX,TranslateY,TranslateInertia"
       ManipulationDelta="Right_ManipulationDelta"
       ImageOpened="Image_Opened">
    <Image.RenderTransform>
        <RotateTransform x:Name="RightRotateTransform" />
    </Image.RenderTransform>
</Image>
In the ManipulationDelta handler, you transform the translation into a rotation by calculating the angle of the delta. Add this angle to the angle of the element’s RotateTransform. I took some time to make a small drawing to illustrate this. Alpha is the angle to be calculated:
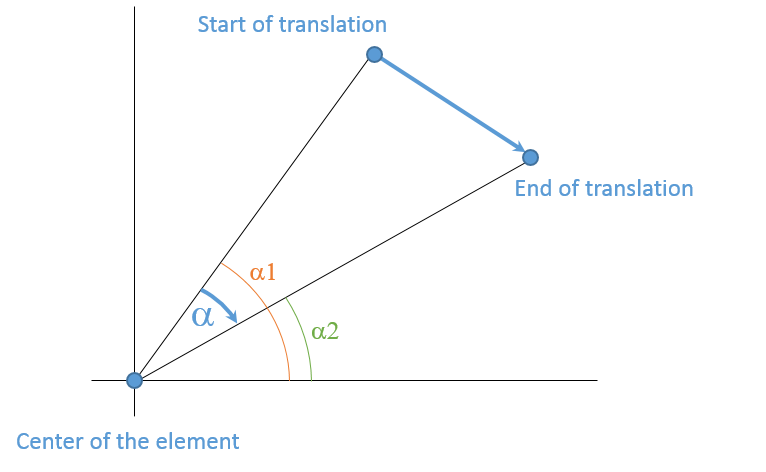
From a performance standpoint, I assume that the law of cosines would be the most appropriate solution here. But I have the right to be lazy sometimes, so I went for the “least C#” option: calculate Alpha as the difference of Alpha1 and Alpha2 on the image. Here’s that code:
// Called by touch and mouse.
private void Right_ManipulationDelta(object sender, ManipulationDeltaRoutedEventArgs e)
{
    // Alternatively, use Triangle Cosines Law.
    // It uses just one trigonometric function (Acos), but you first need to calculate the lengths of all sides.

    var x = this.RightRotateTransform.CenterX - e.Position.X;
    var y = this.RightRotateTransform.CenterY - e.Position.Y;

    double a1 = Math.Atan(y / x);
    double a2 = Math.Atan((e.Delta.Translation.Y - y) / (x - e.Delta.Translation.X));

    this.RightRotateTransform.Angle += a1 - a2;
}
Use cases
I would definitely recommend this type of rotation in non-touch scenarios: it reacts naturally and it does not require the shift and control buttons (or the user’s recollection to press these). In a touch environment, it does not occlude the element you're manipulating. There’s a lag in reaction time, and it’s easy to outpace the algorithm by moving too fast. So I would not use single point rotation to e.g. spin a wheel. The roulette wheel in the sample app is a bad choice - it just looked nice next to that wheel of fortune. 
Code
Here’s the full code: U2UConsult.RotationManipulation.Sample.zip (587.17 kb)
Enjoy!
Diederik