In this blog post we will have a look at how you can use Power Query to create a Power Pivot data model in Excel and publish it to a Power BI site in Office 365. Once the Excel file with the Power Pivot data model is in Power BI for Office 365 we can query it with Power Q&A.
If you have downloaded and installed the latest version of Power Query you should see a tab labeled Power Query in Excel 2013. With Power Query you can extract data from the web, relational database, SharePoint lists… In order to access our CRM data we can use the CRM OData feeds. In the installation that I'm using Dynamics CRM is running on the URL http://springfield:5555/AdventureWorksCycles.
First we will extract all contacts from Dynamics CRM 2013 using the following OData query:
http://springfield:5555/AdventureWorksCycles/XrmServices/2011/OrganizationData.svc/ContactSet?$select=ContactId,FirstName,LastName,Address1_City, Address1_Country
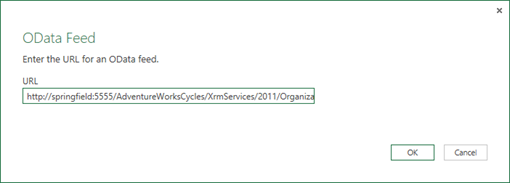
Since Dynamics CRM requires that we authenticate when we access the OData feed it is going to ask us how we would like to authenticate against the OData feed. You only need to provide this information once since all the authentication settings will be stored by Excel. Because we are accessing an on premise installation of Dynamics CRM we will choose Windows authentication. If you are using Dynamics CRM Online you would choose Organizational Account and provide your username and password.

Once we press the Save button the Power Query window opens.
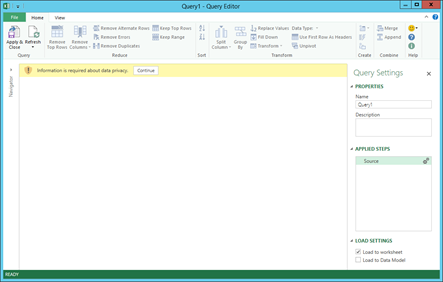
Because we are accessing an OData feed Power Query is going to ask us some information about the privacy settings of this data. We can tell Power Query whether the data is Public, Organizational or Private. This setting is going to determine with which other data source our data source can be combined with. Public data source are for instance isolated from other Organizational and Private data sources. Since we are working with corporate data we can select Organizational as the privacy level.
Once the authentication and private settings are configured we see the Power Query Editor. We start by giving our query a decent name and description. When we are finished writing our Power Query we want to load the resulting data in a Power Pivot data model and not in the worksheet. The Load Settings in the bottom right of the Power Query editor window must be configured accordingly.
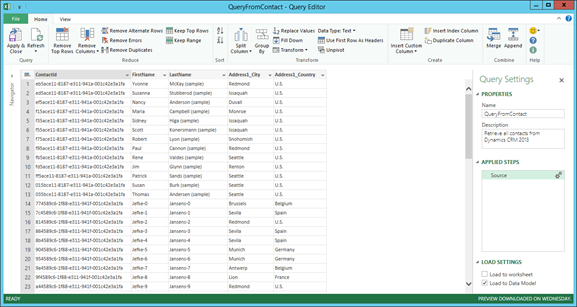
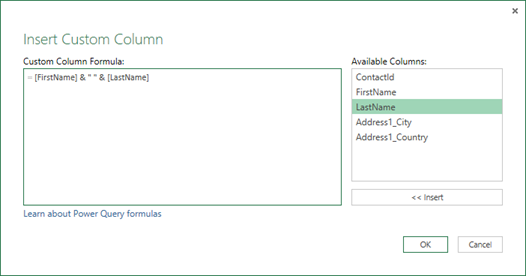
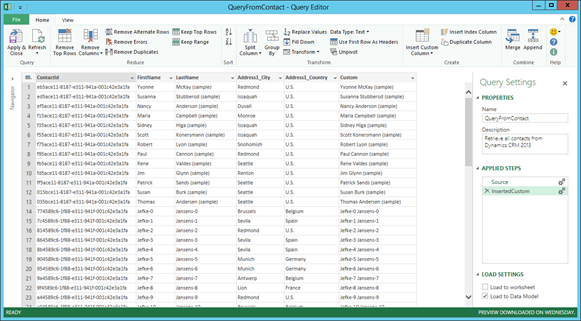
Now it's time to do some simple transformations on the data. In the source we have 2 separate fields for First Name and Last Name. This should become one field labeled Full Name. We can do this by pressing the "Insert Custom column" button in the ribbon. Once the Insert Custom Column window opens the formula can be build.
As you define these transformations on your data source they will be added as individual steps in list box in the Query Settings pane. By clicking on the gear icon you can review and change the settings of each step. And if you right-click on one you can alter its name, position or delete the selected step.
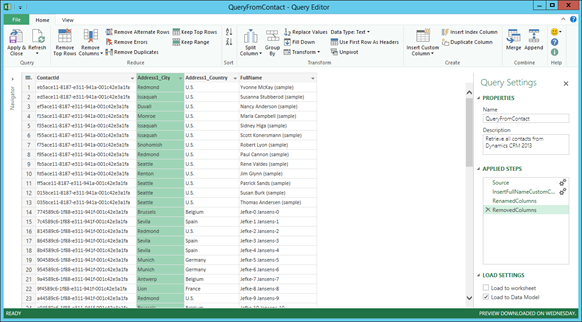
We now need to add another step to rename the column. In order to do this, you can right-click on the column labeled Custom and select Rename. Another step will be added to our Power Query. Next we want to remove the FirstName and LastName column by selecting them and in the context menu we can select remove. The final result looks as follows:
Once the query is finished press the Apply & Close button in the ribbon.

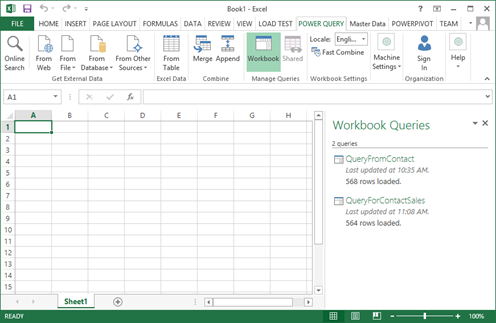
568 Contacts have been loaded into the Data Model using the Power Query we just wrote.
Next we would like to load the Sales Orders from Dynamics CRM. We can use the following OData query for this.
http://springfield:5555/AdventureWorksCycles/XrmServices/2011/OrganizationData.svc/SalesOrderSet?$select=TotalAmount,CustomerId
In the previous OData query all the attributes we retrieved where of a simple type like string, number... In this query however TotalAmount and CustomerId are complex properties which will make things a little bit more interesting in Power Query.

In the above screenshot you can see the TotalAmount and CustomerId. If you are not familiar with Dynamics CRM a CustomerId is a so called Entity Reference and it can either reference a Contact (a Person) or an Account (a Company) in this example. In the snippet shown the CustomerId references a contact record identified with the Guid in the Id field. And the name is Yvonne McKay. This is the value of the so called Primary Field in Dynamics CRM.
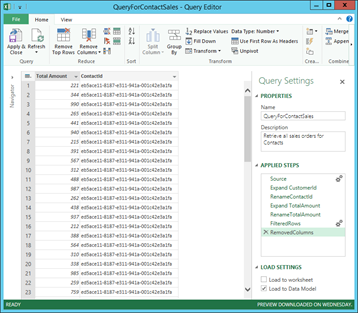
If we follow the same procedure as before to build our Power Query we can the following initial result. The query was given a decent name and description. The Load Settings are again set to load this data in the Data Model.
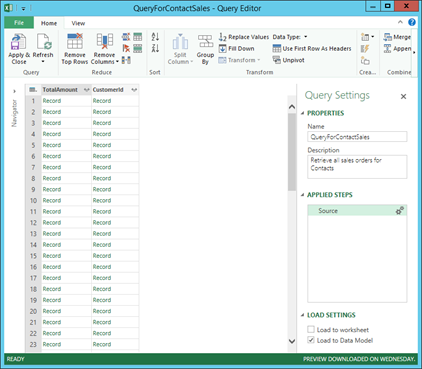
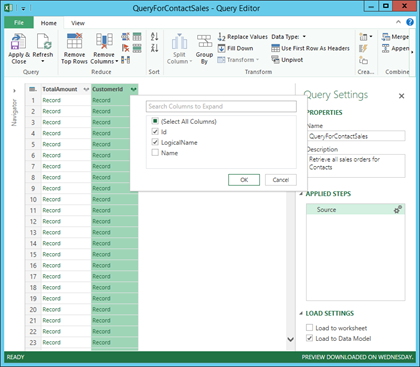
Because we are retrieving 2 complex properties they are displayed as records in the result. Each column has a special drill down icon in the column heading. When you click on it you can selected which fields you want to have in the drill down. Since our first Power Query already has the name of the Contact we can leave it out.
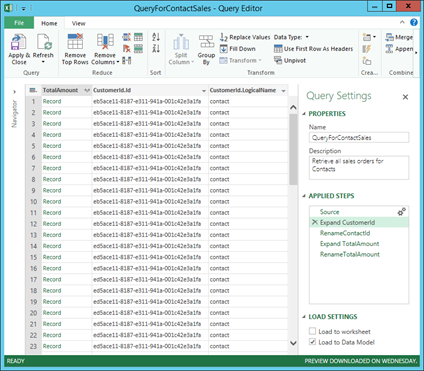
Next we rename the CustomerId.Id column to ContactId. And then drilldown on the TotalAmount column and rename TotalAmount.Value to Total Amount.
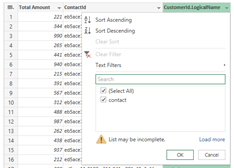
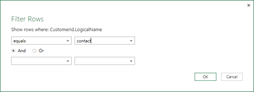
Like was said before a sale can be either for a Contact or an Account. We only need the Contact sales. Like in an Excel table we can right click on the small triangle displayed in the CustomerId.LocalgicalName column and filter out all rows where the value is not contact.
Next we can add one more step to actually remove the CustomerId.LocalgicalName column. We now have the following steps in our Power Query
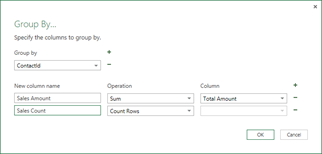
There is one last transformation we would like to do. Since we are building a very small data warehouse we are not interested in having data at the transaction level. So we can group our data on the ContactId field and apply the sum aggregation function on the Total Amount field. We would also like to have a new measure that tells us how many orders a contact has placed. This transformation can be added by pressing the Group By button in the ribbon.
Here is the final result of our second Power Query.
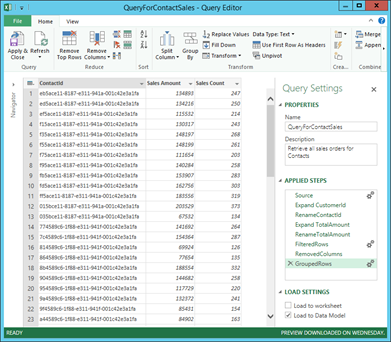
The final query in our exampled loaded about 45.000 rows from Dynamics CRM but because of the Group By we only get 564 rows in the Data Model.
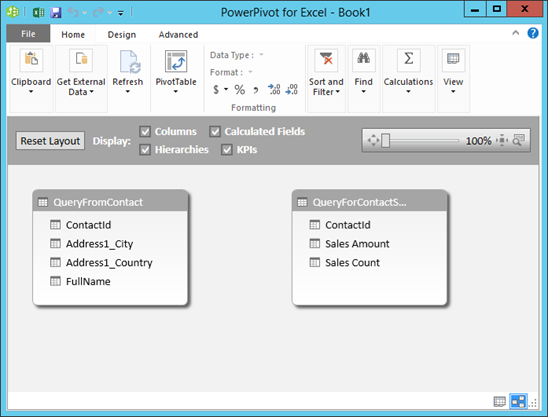
If we open the Power Pivot Data Model this is what we get in the Diagram View
Finishing this Power Pivot Model and creating a Power View report on top on it will be the topic of the second part of this blog post.