In this blog post you will see how to use the Power Platform CLI with Power Pages. This feature enables you to download the content of a Power Pages site and edit it in Visual Studio Code. Once finished, you can upload all your changes back to the Power Pages site. Another use case for this feature is to move a Power Pages site between production, acceptance and production environments.
As a first step you will need to install and download Visual Studio Code. Once installed you can follow the steps below to install the Power Platform CLI.
- Start Visual Studio Code.
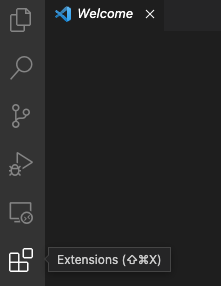
- Select the Extensions icon from the left-side window.

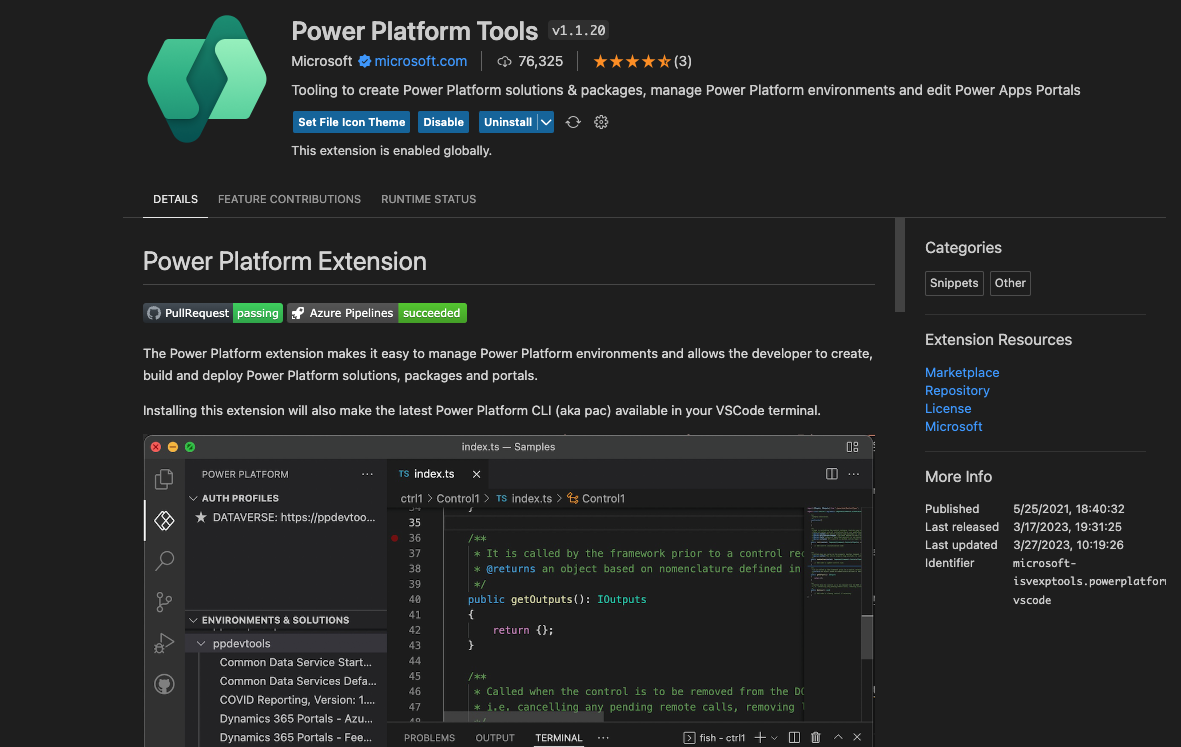
- In the search text box, type Power Platform Tools.

- Click the on the blue Install button.
- Restart Visual Studio Code.
Once Visual Studio Code is restarted, go to View -> Terminal to open a new Terminal window. In this new terminal window type pac and press enter.

This will list all the commands that can be executed using the Power Platform CLI.
As a first step, we must authenticate with the Dataverse environment that hosts the Power Pages site for which we want to download the content. For this we can run the pac auth create --environment [Dataverse Environment URL] command.
pac auth create --environment https://u2udev.crm4.dynamics.com
Once you successfully login, the following output will be displayed.
'trainer@u2ucourse.com' authenticated successfully.
Validating connection...
Default organization: U2UDev
Authentication profile created
    * UNIVERSAL                                https://u2udev.crm4.dynamics.com/        : trainer@u2ucourse.com                    Public
If you now want to list all Power Pages sites in the selected environment, you can use the pac paportal list command. As you can see in the output below, there are 2 Power Pages sites present in the selected environment.
PS /Users/jurgenpostelmans> pac paportal list
Connected to... U2UDev
Connected as trainer@u2ucourse.com

Completed listing Power Pages websites

 Index      Website Id                                         Friendly Name

 [1]        fd99279d-cace-ed11-b597-0022489ee5d6               U2U Blog Post - u2ublogpost
 [2]        ad7c0439-f381-ed11-81ad-0022489fd57f               U2U Portal - u2uportal
To download the content of a Power Pages site, you can use the pac paportal download --path [Local Path] --webSiteId [WebSiteId-GUID] command. The path parameter indicates where the Power Pages website content will be downloaded. The WebSiteId-GUID is the ID of the Power Pages site and can be found in the output of the pac paportal list command above.
PS /Users/jurgenpostelmans/blogpost> pac paportal download --path ./ --webSiteId fd99279d-cace-ed11-b597-0022489ee5d6


Information:
Be careful when you're updating public sites. The changes you make are visible to anyone immediately. To check site visibility go to https://make.powerpages.microsoft.com/.
To get additional information, please visit https://go.microsoft.com/fwlink/?linkid=2204350


Started downloading website fd99279d-cace-ed11-b597-0022489ee5d6
Connected to... U2UDev
Connected as trainer@u2ucourse.com
Downloading: Website [adx_website]...
Downloaded: Website [adx_website]
Downloading: Website Language [adx_websitelanguage]...
...
Updating manifest...
Manifest updated successfully.
Power Pages website download succeeded in 13.465261 secs.
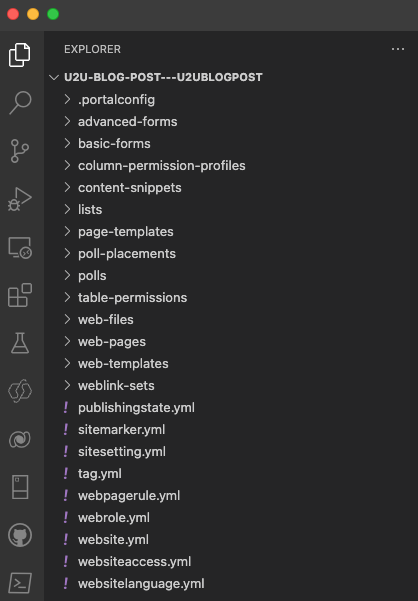
Once the download is finished, a new folder is created that is made up of the display name and name of your Power Pages site.
PS /Users/jurgenpostelmans/blogpost> ls -l
total 0
drwxr-xr-x@ 25 jurgenpostelmans  staff  800 Mar 30 10:58 u2u-blog-post---u2ublogpost
PS /Users/jurgenpostelmans/blogpost>
Open this folder with Visual Studio Code.

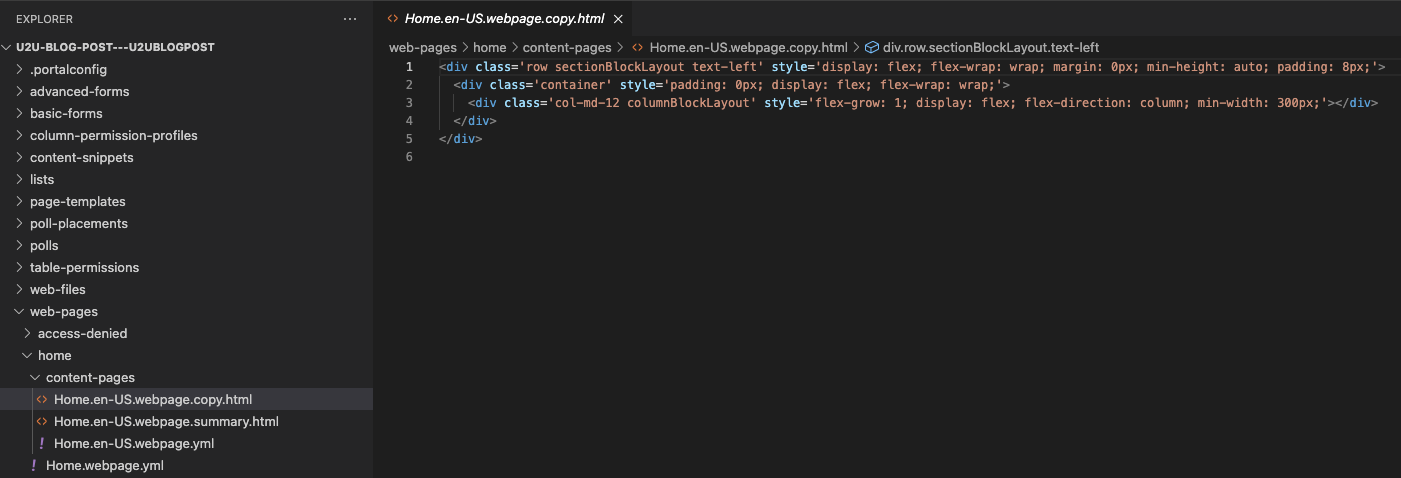
If we now want to edit the content of the Home page, open the file that is named Home.en-US.webpage.copy.html.

Let's add some custom text and a small piece of Liquid code inside the innermost div tag.
<div class='row sectionBlockLayout text-left' style='display: flex; flex-wrap: wrap; margin: 0px; min-height: auto; padding: 8px;'>
  <div class='container' style='padding: 0px; display: flex; flex-wrap: wrap;'>
    <div class='col-md-12 columnBlockLayout' style='flex-grow: 1; display: flex; flex-direction: column; min-width: 300px;'>
      This page was modified in Visual Studio Code<br>
      {{ now }}
    </div>
  </div>
</div>
To upload the changes, the pac paportal upload --path [Local Path] command can be used.
PS /Users/jurgenpostelmans/blogpost/u2u-blog-post---u2ublogpost> pac paportal upload --path ./


Information:
Be careful when you're updating public sites. The changes you make are visible to anyone immediately. To check site visibility go to https://make.powerpages.microsoft.com/.
To get additional information, please visit https://go.microsoft.com/fwlink/?linkid=2204350


Started uploading website data
Connected to... U2UDev
Connected as trainer@u2ucourse.com

Loading Power Pages website manifest...

Manifest loaded successfully.

Updated record(s) for table: adx_webpage

Power Pages website upload succeeded in 5.77 secs.
Notice how it only uploads data for the adx_webpage entity because the command only uploads new/modified/deleted content. When the content of a Power Pages site is download, a manifest.yaml file is created inside the .portalconfig folder.

As you can see in the screenshot, a checksum is calculated and stored for each record that was downloaded. If the content of a record gets modified, the current checksum will not match with the checksum in the manifest. This way the pac paportal upload command can upload only the changes.