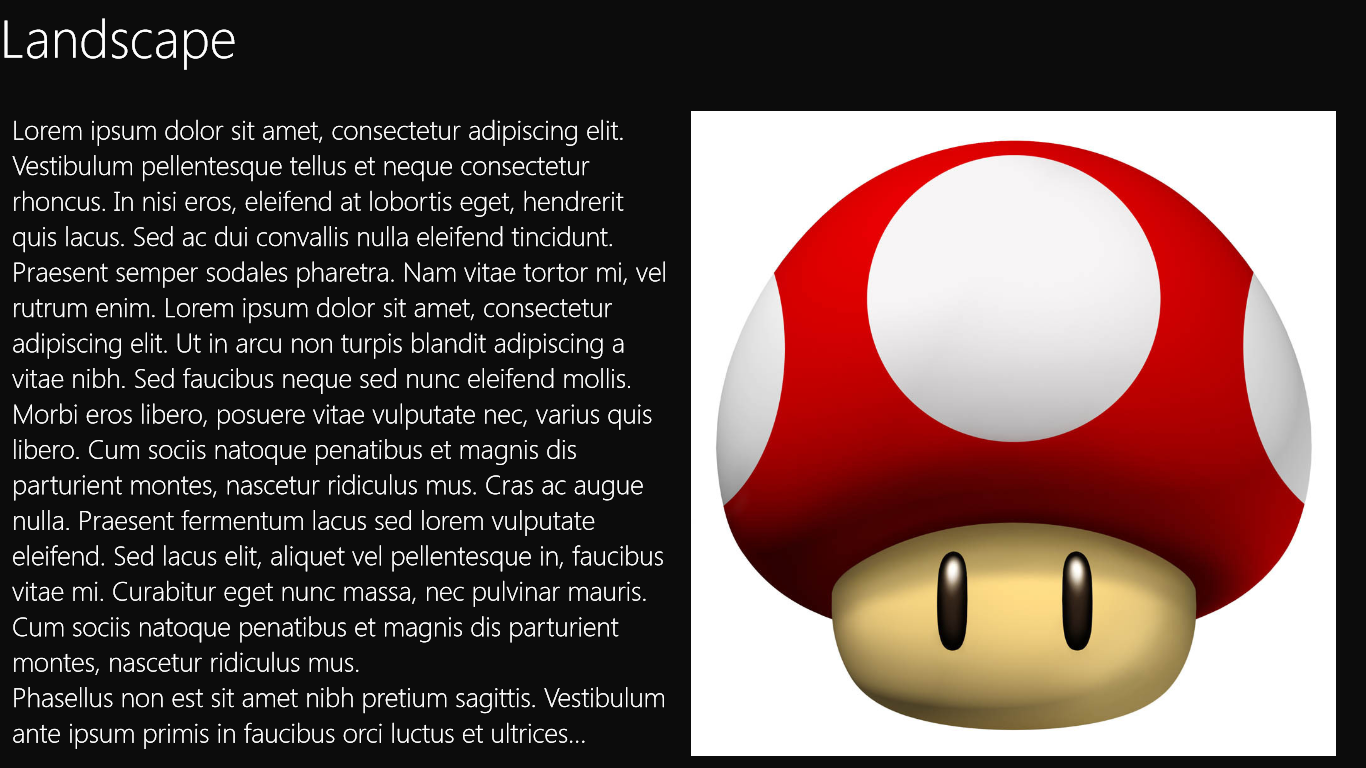
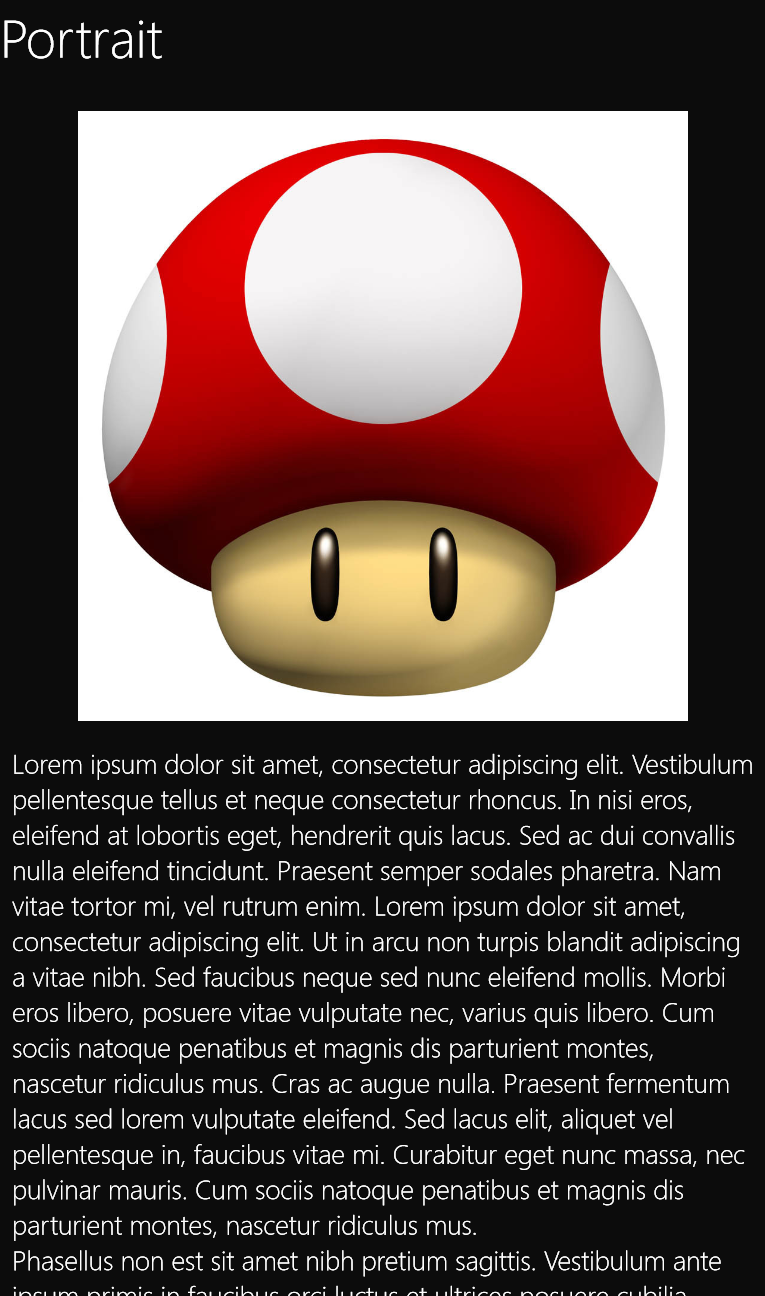
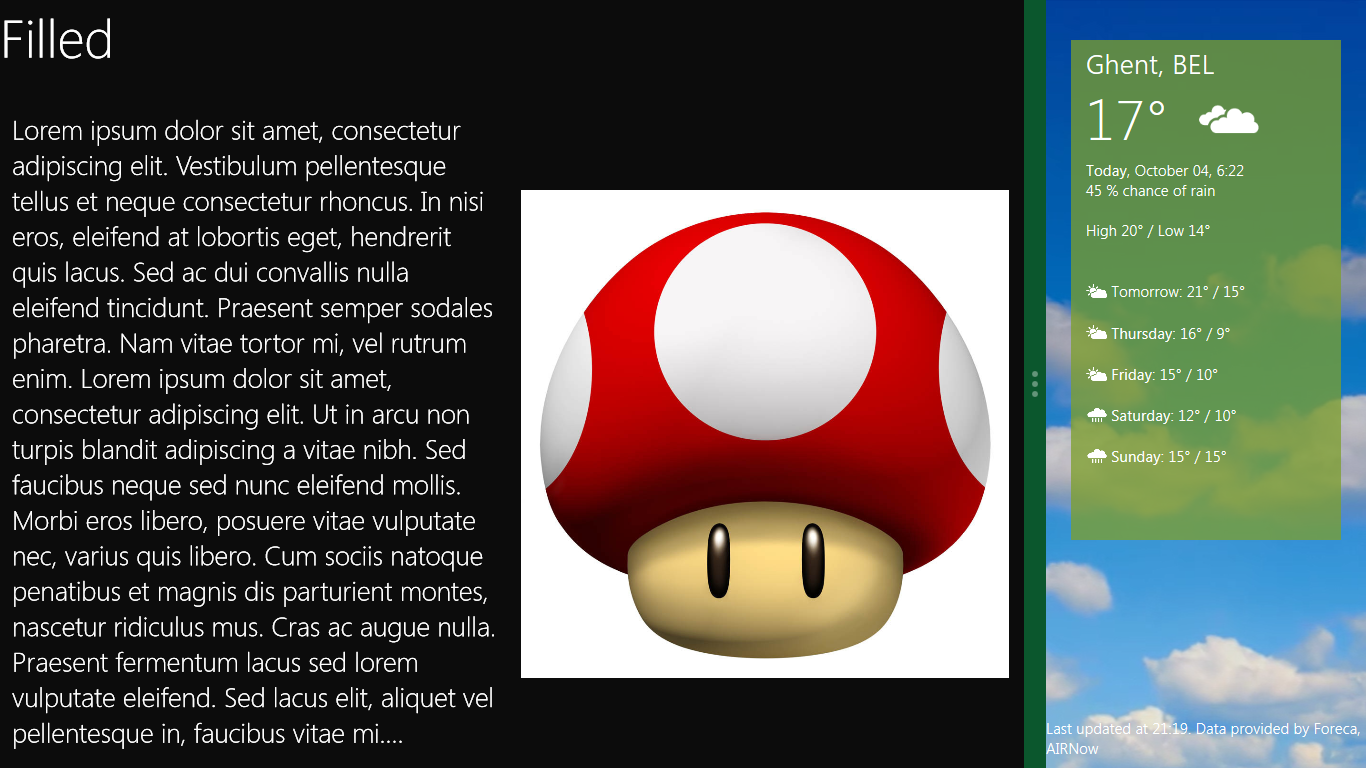
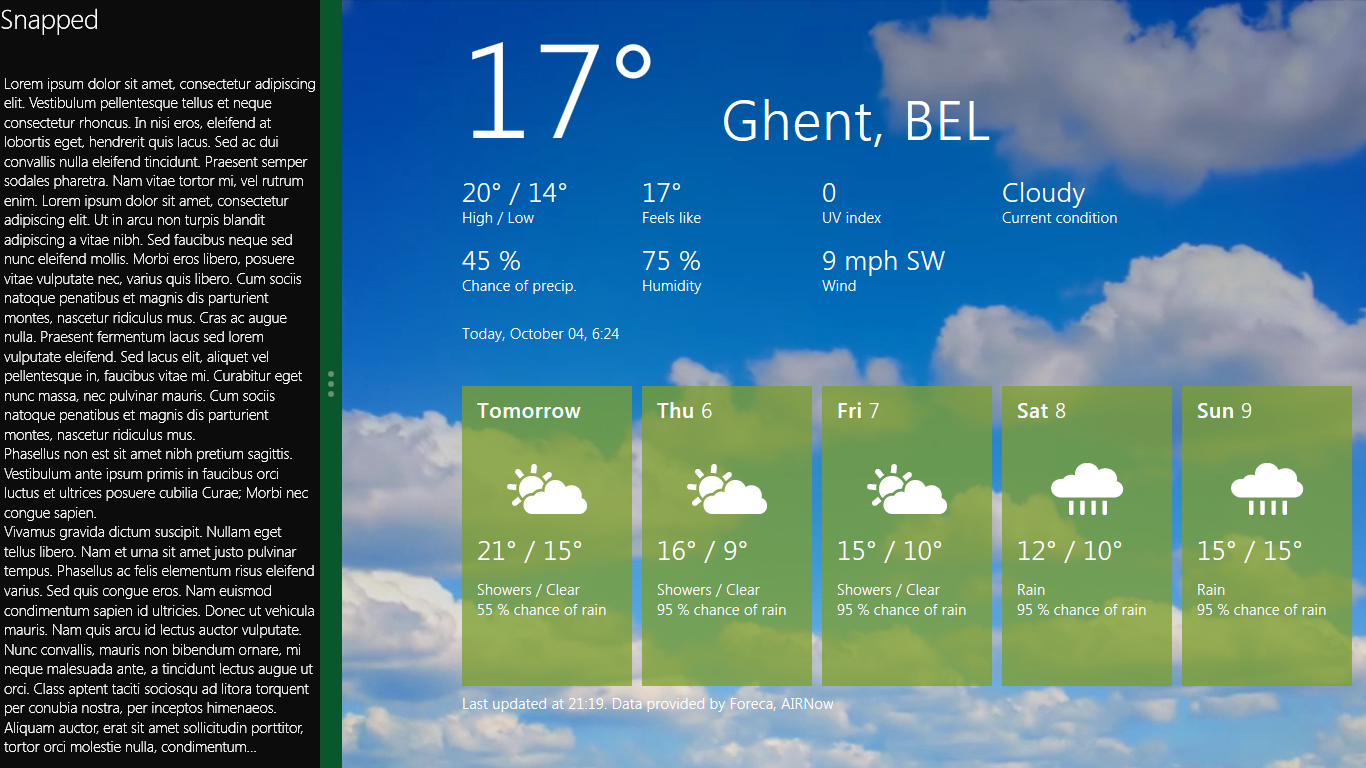
When working with windows 8 on a tablet, you quickly notice the different ways a user can interact with your application. Your application can control the full screen, both in landscape or portrait, or can share the screen with an other application. Basically, there are four modes your application will need to support:
- Landscape
- Portrait
- Filled, i.e. when shared with an other application and our application receives the most space.
- Snapped, i.e. when shared with an other application and your application receives only a small amount of space to the side.
There are several ways to achieve this. One way is to switch the visibility of several controls on and off in code. You can also use the VisualStateManager to achieve the same thing. But what if you want completely different views for different modes? The answer is MVVM.
The first thing that we need to take care of is the fact that each ViewModel has up to four views that it can use to display its content. In order to do so I added a class ViewModel which has a property for each of the views:
class ViewModel : INotifyPropertyChanged
{
    public DataTemplate LandscapeView { get; set; }
    public DataTemplate PortraitView { get; set; }
    public DataTemplate FilledView { get; set; }
    public DataTemplate SnappedView { get; set; }
}

public event PropertyChangedEventHandler PropertyChanged;

public void RaisePropertyChanged(string propertyName)
{
  if (PropertyChanged != null)
  {
    PropertyChanged.Invoke(this, new PropertyChangedEventArgs(propertyName));
  }
}
Once we know that every ViewModel has these properties, we can set up our skeleton in MainPage.xaml
<UserControl x:Class="SheetReader.MainPage"
    xmlns="http://schemas.microsoft.com/winfx/2006/xaml/presentation"
    xmlns:x="http://schemas.microsoft.com/winfx/2006/xaml"
    xmlns:d="http://schemas.microsoft.com/expression/blend/2008"
    xmlns:mc="http://schemas.openxmlformats.org/markup-compatibility/2006"
    mc:Ignorable="d"
    d:DesignHeight="768" d:DesignWidth="1366" Loaded="Page_Loaded" Unloaded="Page_Unloaded">
  <Grid x:Name="LayoutRoot" Style="{StaticResource LayoutRootGridStyle}">
    <ContentControl x:Name="MainContent" Content="{Binding}" />
  </Grid>
</UserControl>
MainPage.xaml just contains a ContentControl bound to its DataContext, which is of type ViewModel. In the MainPage.xaml.cs file we can write the following code to switch between views:
private void SetCurrentView()
{
  var orientation = DisplayProperties.CurrentOrientation;
  if (orientation == DisplayOrientations.Portrait ||
      orientation == DisplayOrientations.PortraitFlipped)
    MainContent.ContentTemplate = CurrentViewModel.PortraitView;
  else
  {
    var layout = ApplicationLayout.Value;
    if (layout == ApplicationLayoutState.Filled)
      MainContent.ContentTemplate = CurrentViewModel.FilledView;
    else if (layout == ApplicationLayoutState.Snapped)
      MainContent.ContentTemplate = CurrentViewModel.SnappedView;
    else
      MainContent.ContentTemplate = CurrentViewModel.LandscapeView;
  }
}
So by checking some of the properties, we can decide which View we want to use by setting the ContentTemplate property of the ContentControl we added in MainPage.xaml.
We should call this piece of code every time this page loads, changes orientation or has to change it’s layout when sharing the screen.
private void Page_Loaded(object sender, RoutedEventArgs e)
{
  DisplayProperties.OrientationChanged += s => SetCurrentView();
  ApplicationLayout.GetForCurrentView().LayoutChanged +=
                                                (s,e) => SetCurrentView();
  SetCurrentView();
}
Then all we have to do is set the DataContext to some ViewModel:
public MainPage()
{
  InitializeComponent();
  this.DataContext = new SimpleViewModel();
}
So now we have a skeleton that shows the right View for our ViewModel, according to the mode your application might be in.
All we have to do now is, creating ViewModels and wiring up their Views. We can specify our Views in App.xaml:
<Application.Resources>
    <DataTemplate x:Key="SimpleLandscapeView">
        ...
    </DataTemplate>
    <DataTemplate x:Key="SimplePortraitView">
        ...
    </DataTemplate>
    <DataTemplate x:Key="SimpleFilledView">
        ...
    </DataTemplate>
    <DataTemplate x:Key="SimpleSnappedView">
        ...
    </DataTemplate>
</Application.Resources>
For example we can bind to fewer properties in the SnappedView, than in the LandscapeView, or we can organize our data in a different way when the device is in Portrait mode.
Once we are done with this, we can retrieve them in our ViewModel by setting the properties as follows:
public SimpleViewModel()
{
  ...

  this.LandscapeView = (DataTemplate)App.Current.Resources["SimpleLandscapeView"];
  this.PortraitView = (DataTemplate)App.Current.Resources["SimplePortraitView"];
  this.FilledView = (DataTemplate)App.Current.Resources["SimpleFilledView"];
  this.SnappedView = (DataTemplate)App.Current.Resources["SimpleSnappedView"];
}
Here is a example of a really simple ViewModel which has an Image property and a Text property, notice how the Snapped view doesn’t bind to the image.


For more detailed information you can download the source files:
MetroAndMVVM.zip (133,29 kb)